Hiking Mount Sizer Loop in Henry Coe State Park
Henry W. Coe State Park Visitor Center
Challenging
14.9 mi
Out-and-back
14.9 mi
24 km
Distance
3,684 ft
1,123 m
Gain
3,215 ft
980 m
Summit
6-8 hours
Est. time
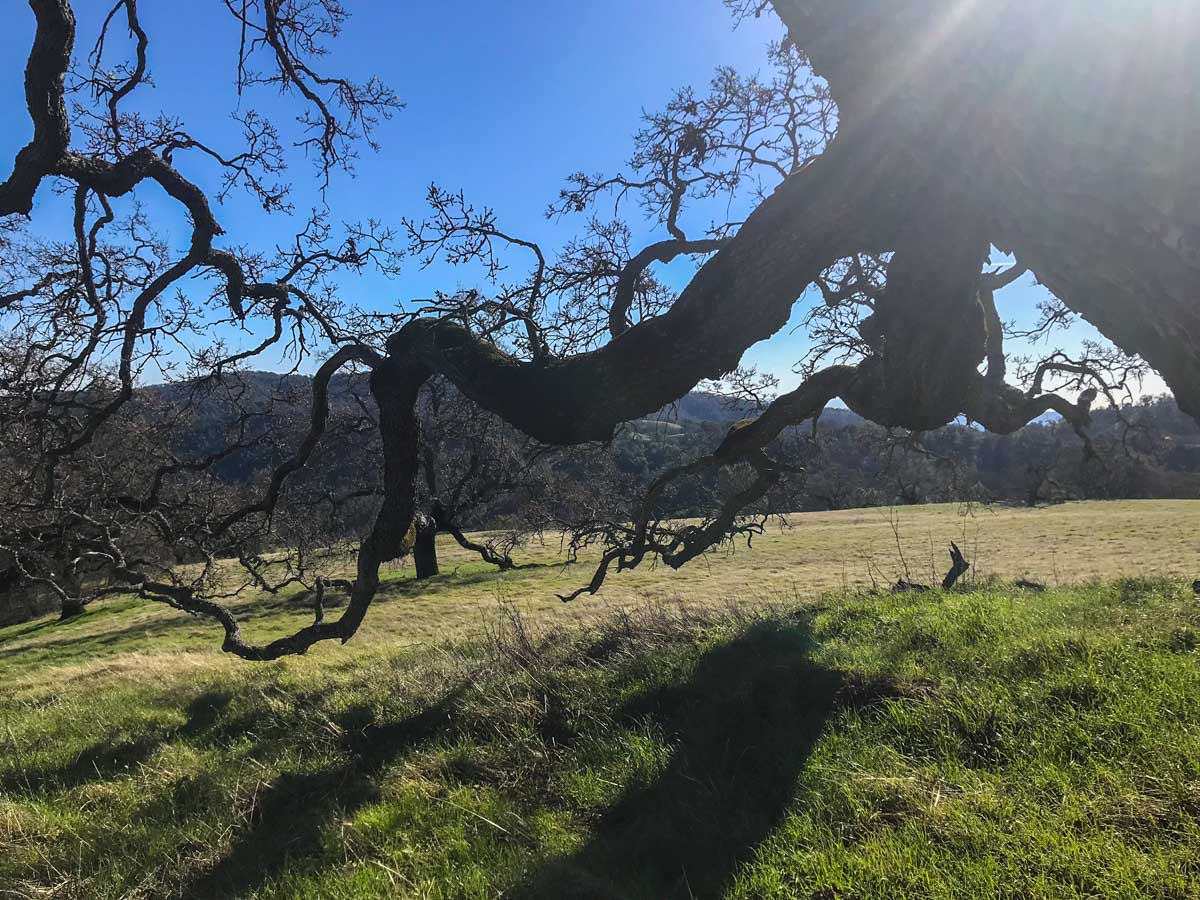
Mount Sizer is one of the highest points in Henry W. Coe State Park. While the peak is really just the high point along Blue Ridge, getting there and back via this loop requires four climbs totaling well over 3,500 vertical feet, including one of the steepest trails in the Bay Area.
This southern-most trail in the Bay Area Six-Pack of Peaks Challenge lies east of Morgan Hill. This 15-mile loop touches just a small part of the park, but provides creeks, lakes, ridgeline vistas and options for overnight camping and backpacking.
Getting to the Trailhead
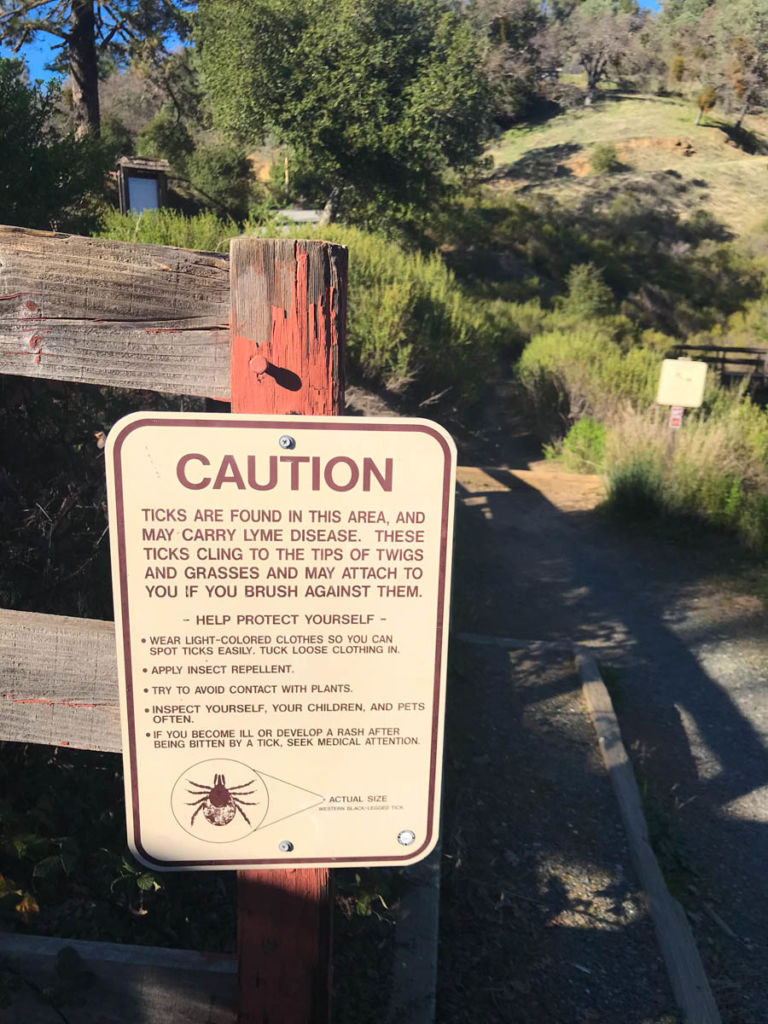
Henry Coe State Park is the largest in the California State Park system, and there are a number of entrances to the park. This hike begins and ends at the headquarters, located at 9100 E Dunne Ave, Morgan Hill, CA 95037 – also generally the closest entrance to the Bay Area.
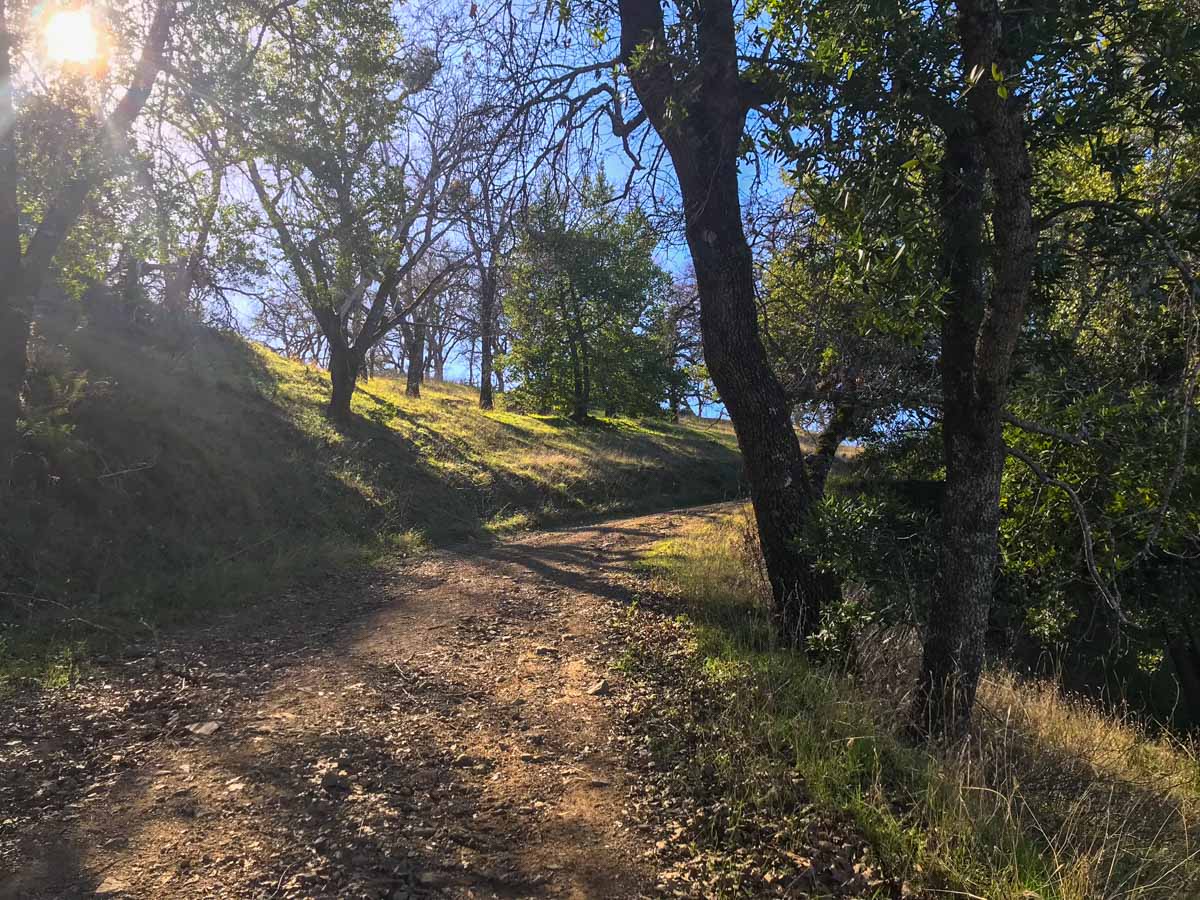
From Highway 101, take East Dunne Avenue all the way to the end. Get turn-by-turn directions via Google Maps here. I got there just as the first rays of sunlight kissed the grassy hills.

The headquarters has a number of ranch buildings. Follow the drive past the buildings to the parking area.

Hiking the Mount Sizer Loop
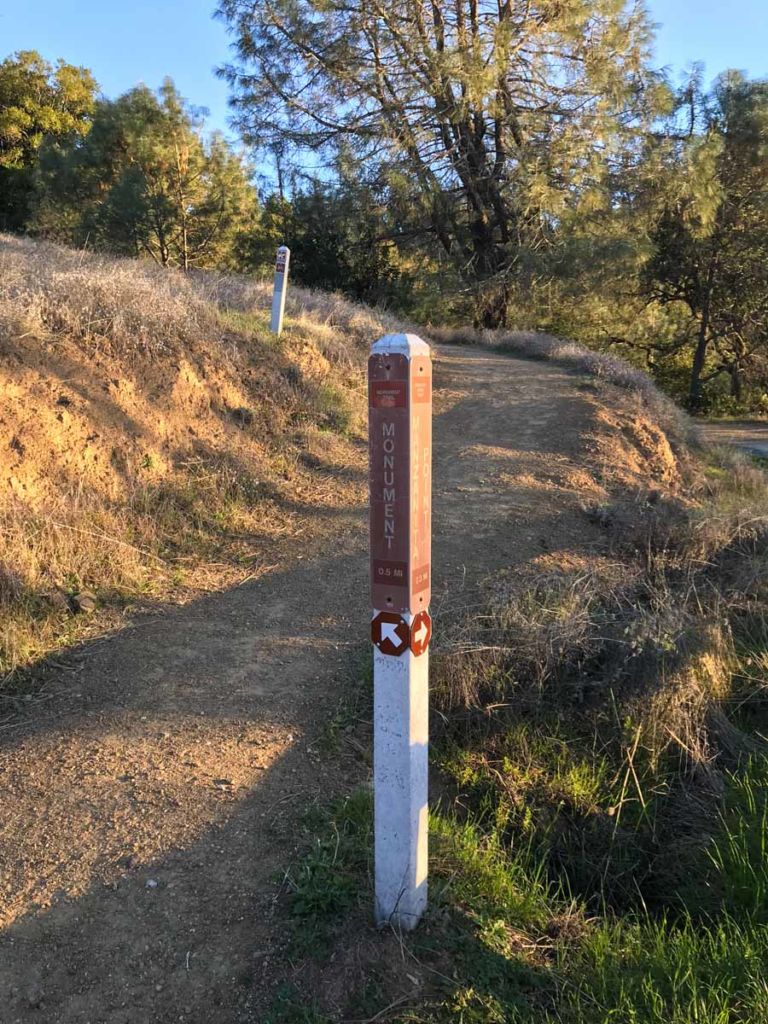
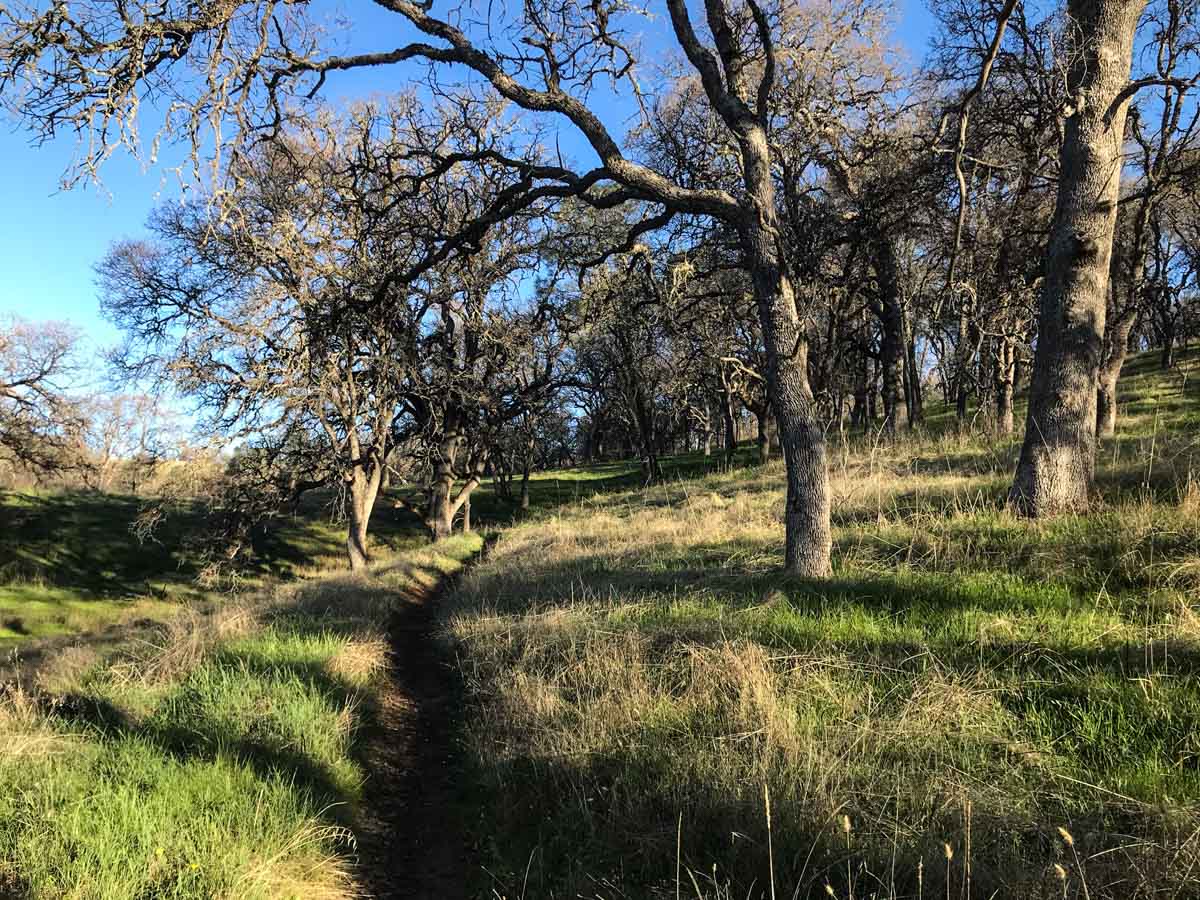
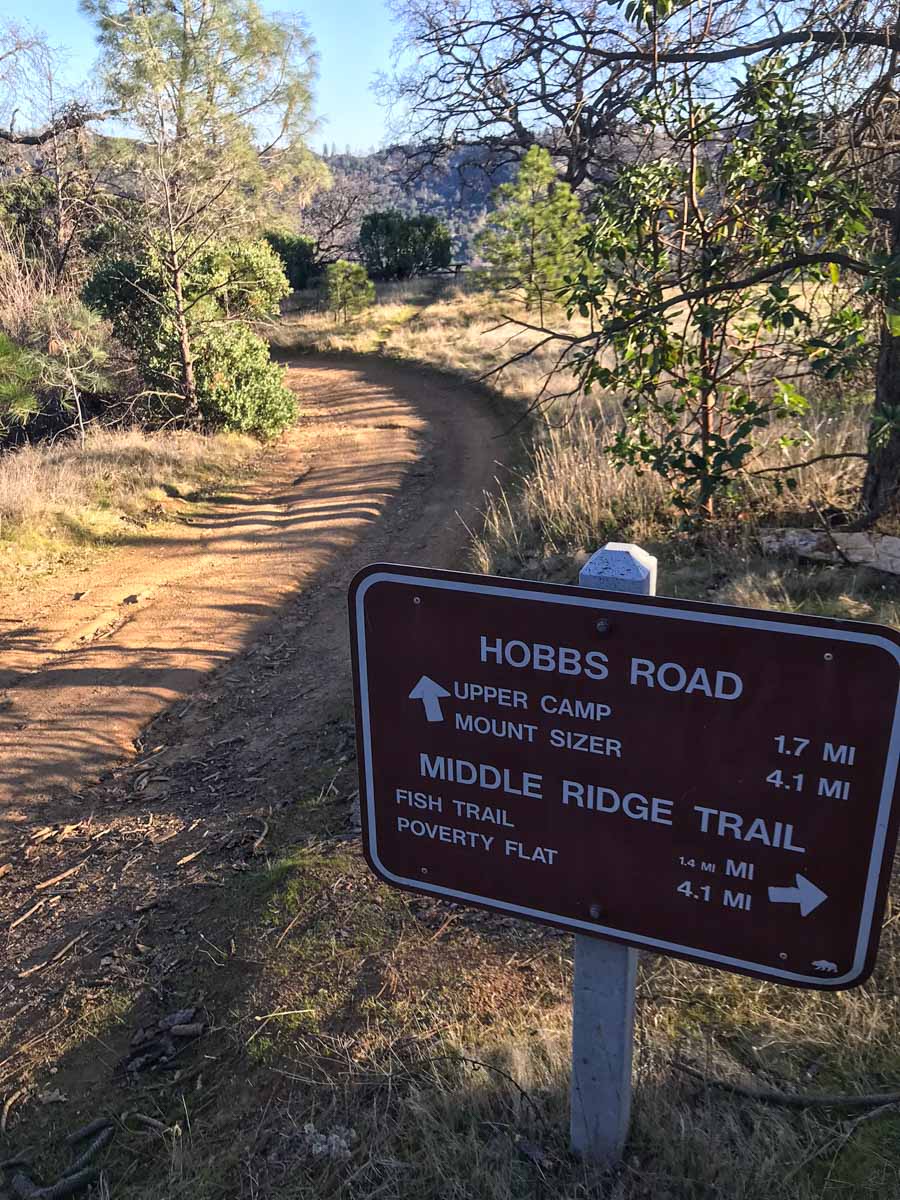
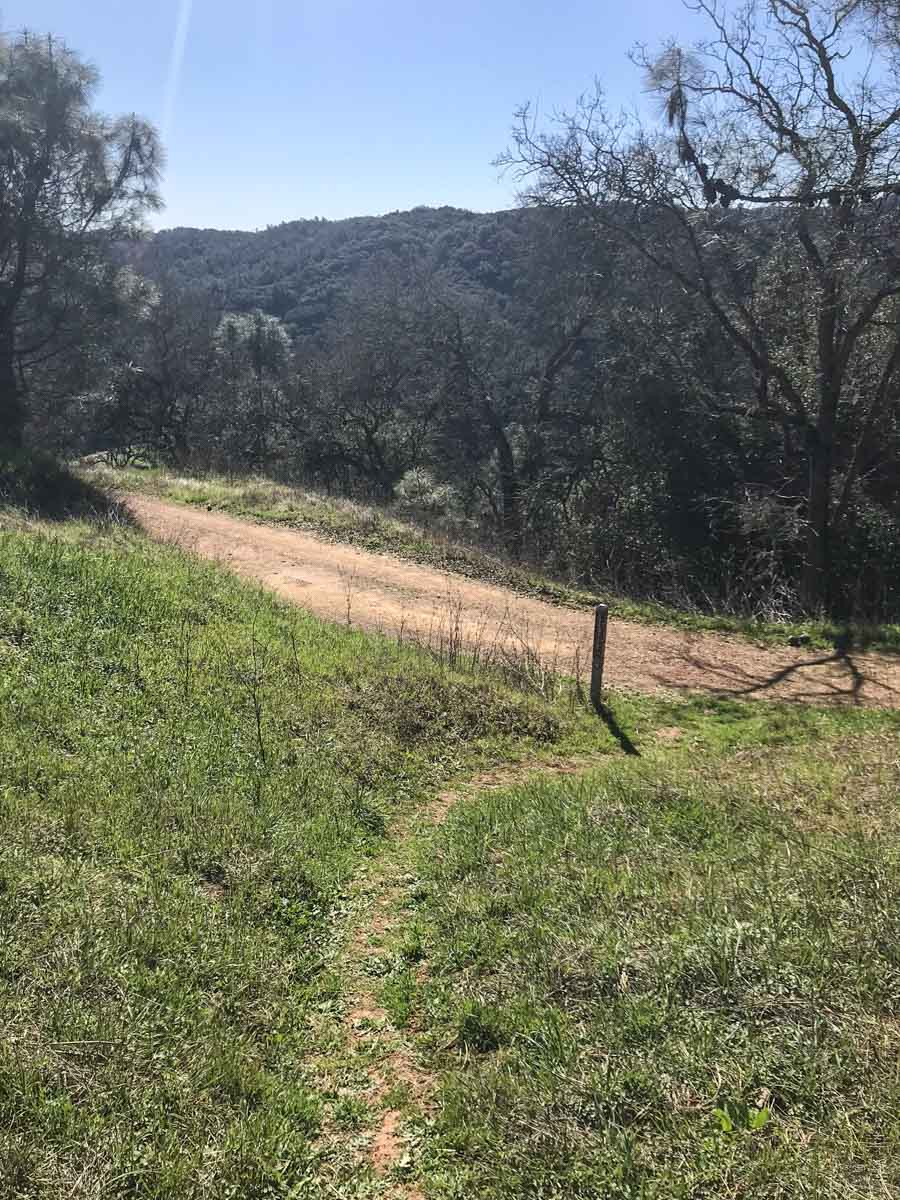
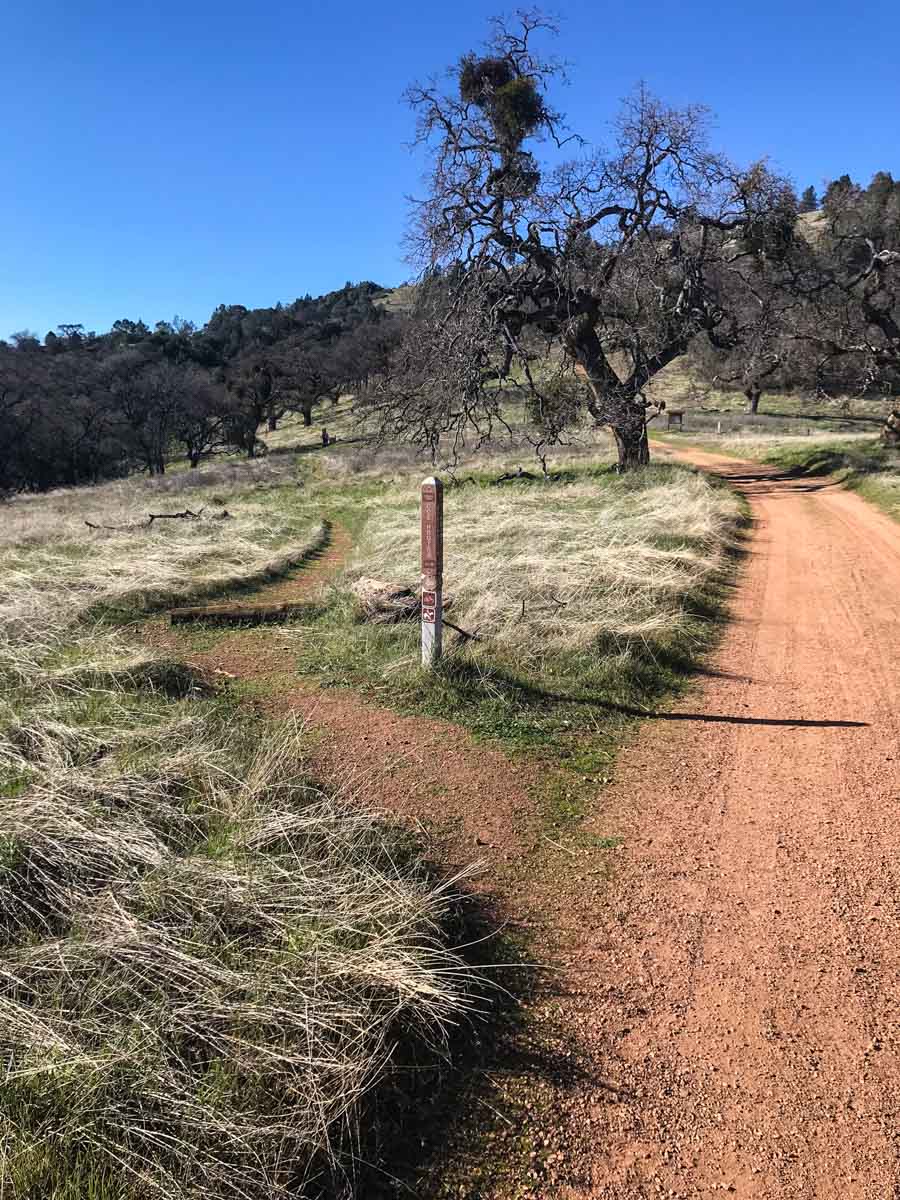
Hike a short distance back Dunne Road past the visitor center and turn right on Manzanita Point Road. Almost immediately you’ll see a trail marker for the Monument Trail on your left. Take it. This single track trail climbs the first ridge and joins Hobbs Road after 0.7 miles.
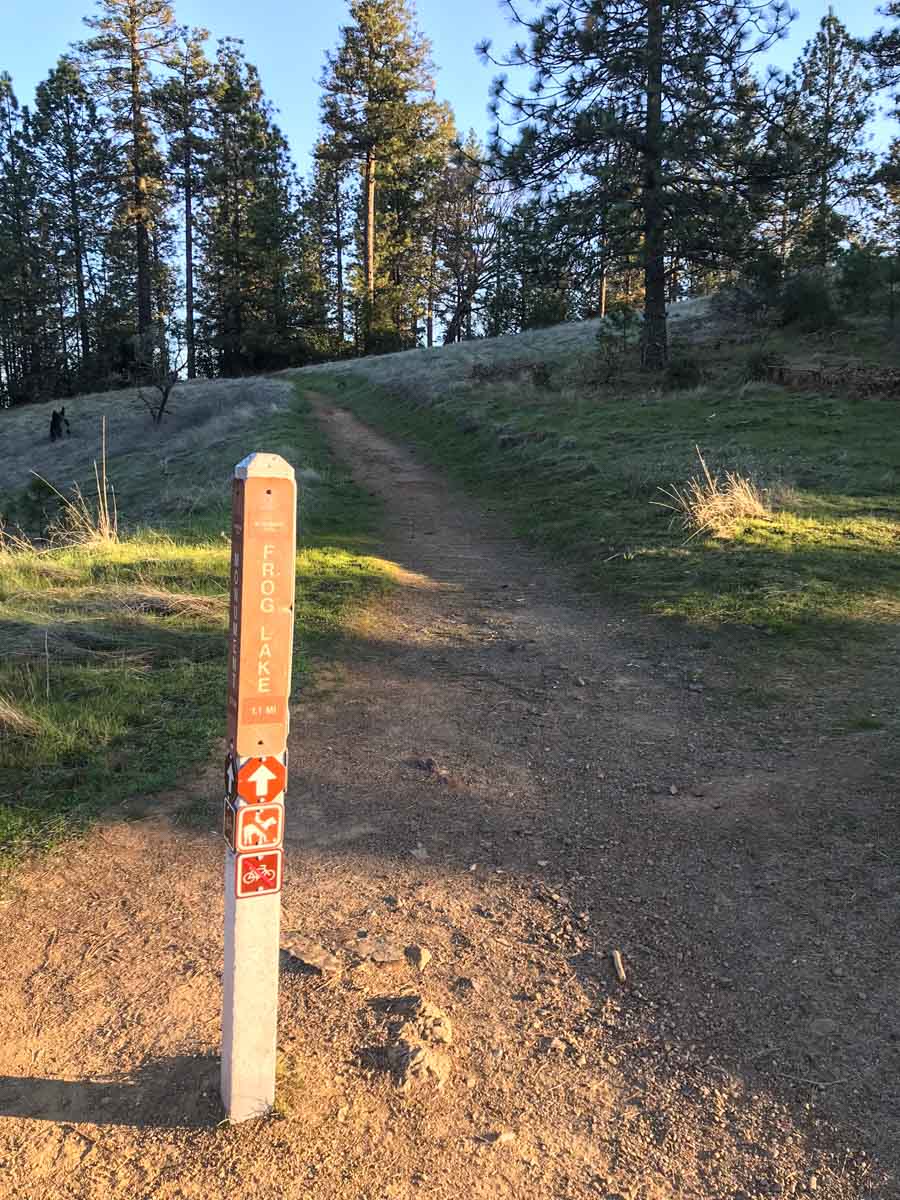
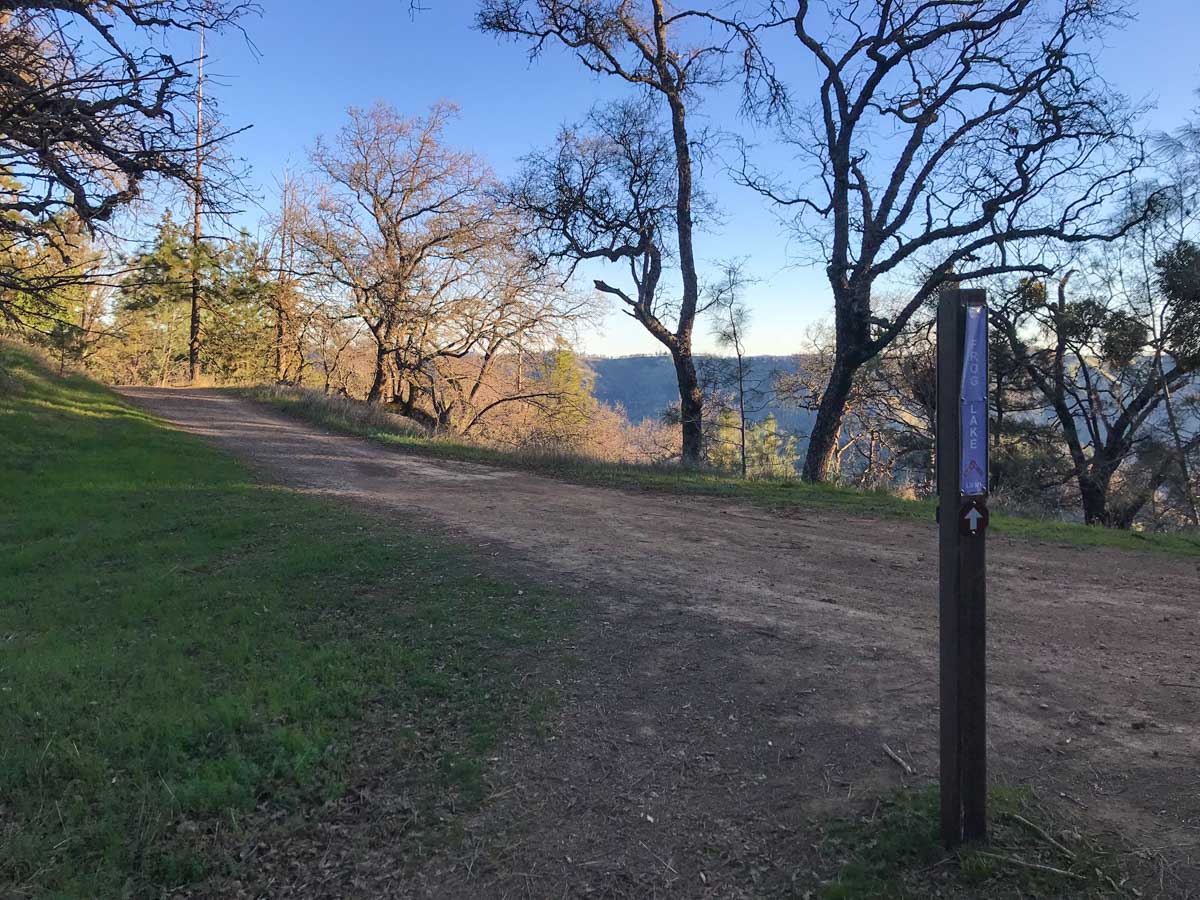
Follow Hobbs Road on it’s steep descent to Little Coyote Creek, then take the single track Frog Lake Trail.
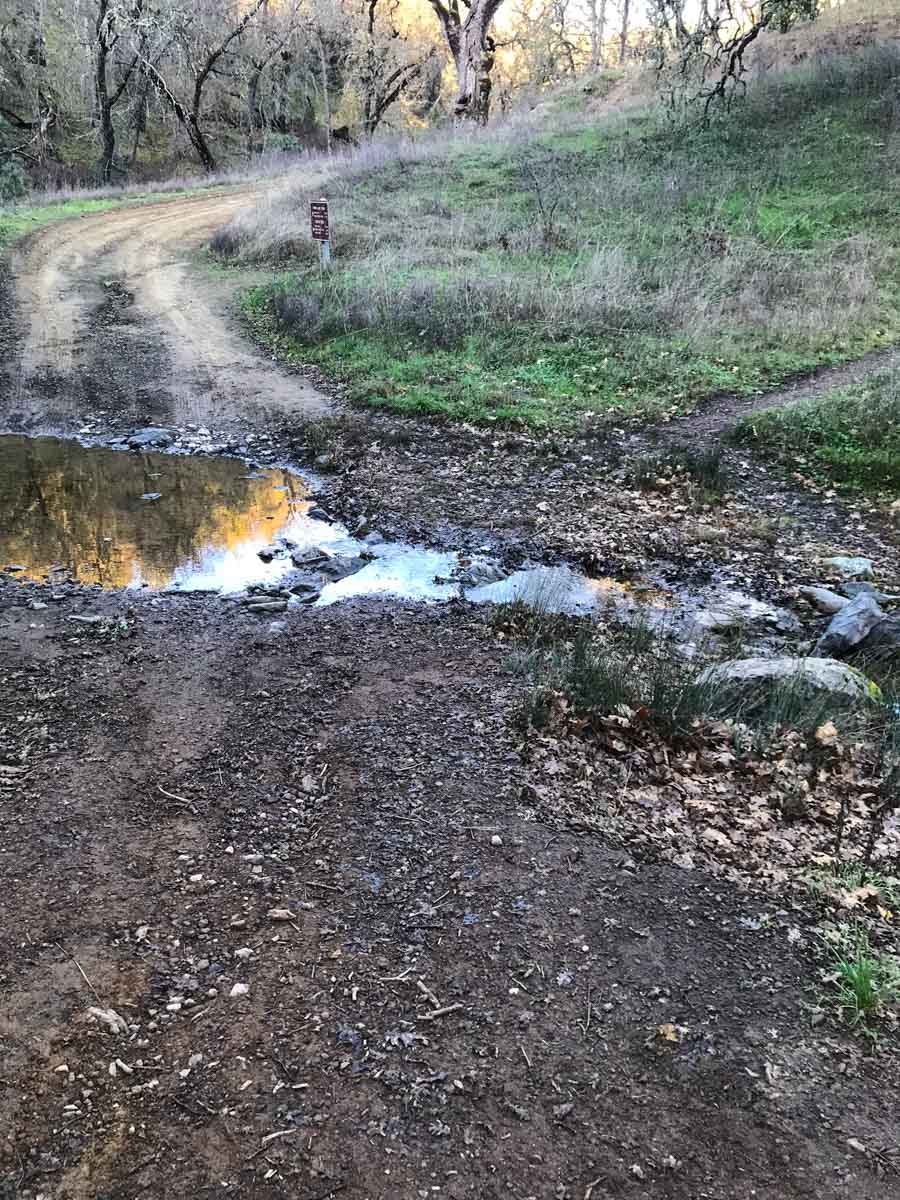
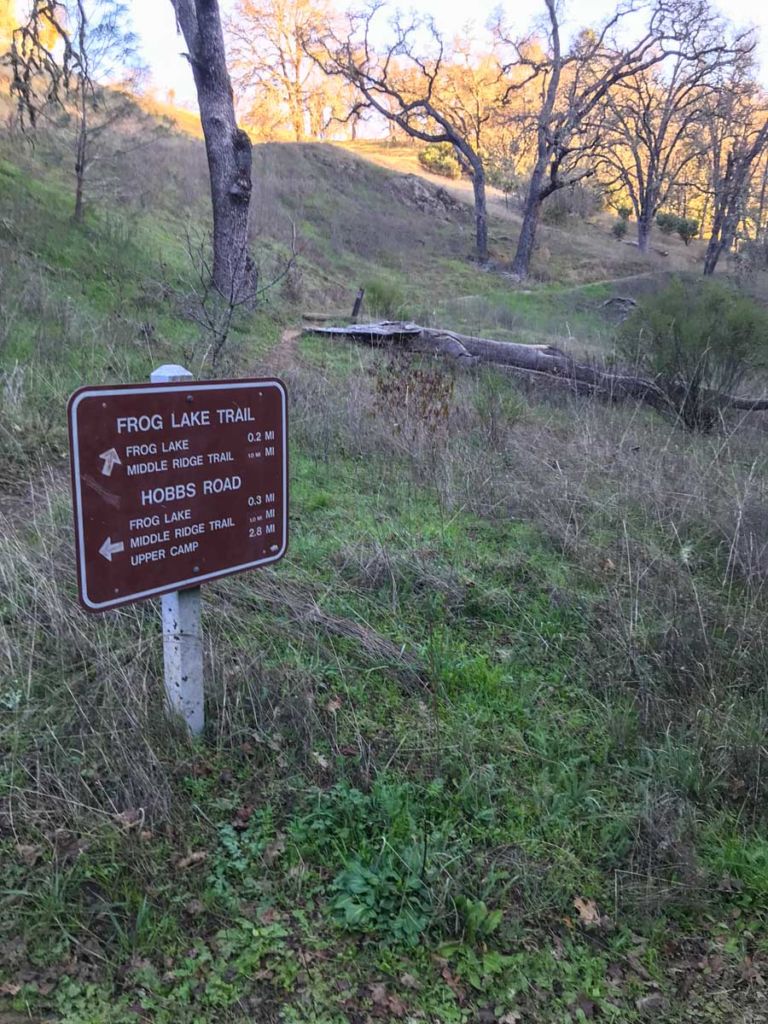

My goal was to follow single-track trails when given the option, so while you can take Hobbs Road, we crossed the dam at Frog Lake following the Frog Lake Trail up to Middle Ridge.

About half way up toward Middle Ridge, you’ll reach Pahajuello Spring. You can refill your water here, but be sure to filter or treat before drinking.

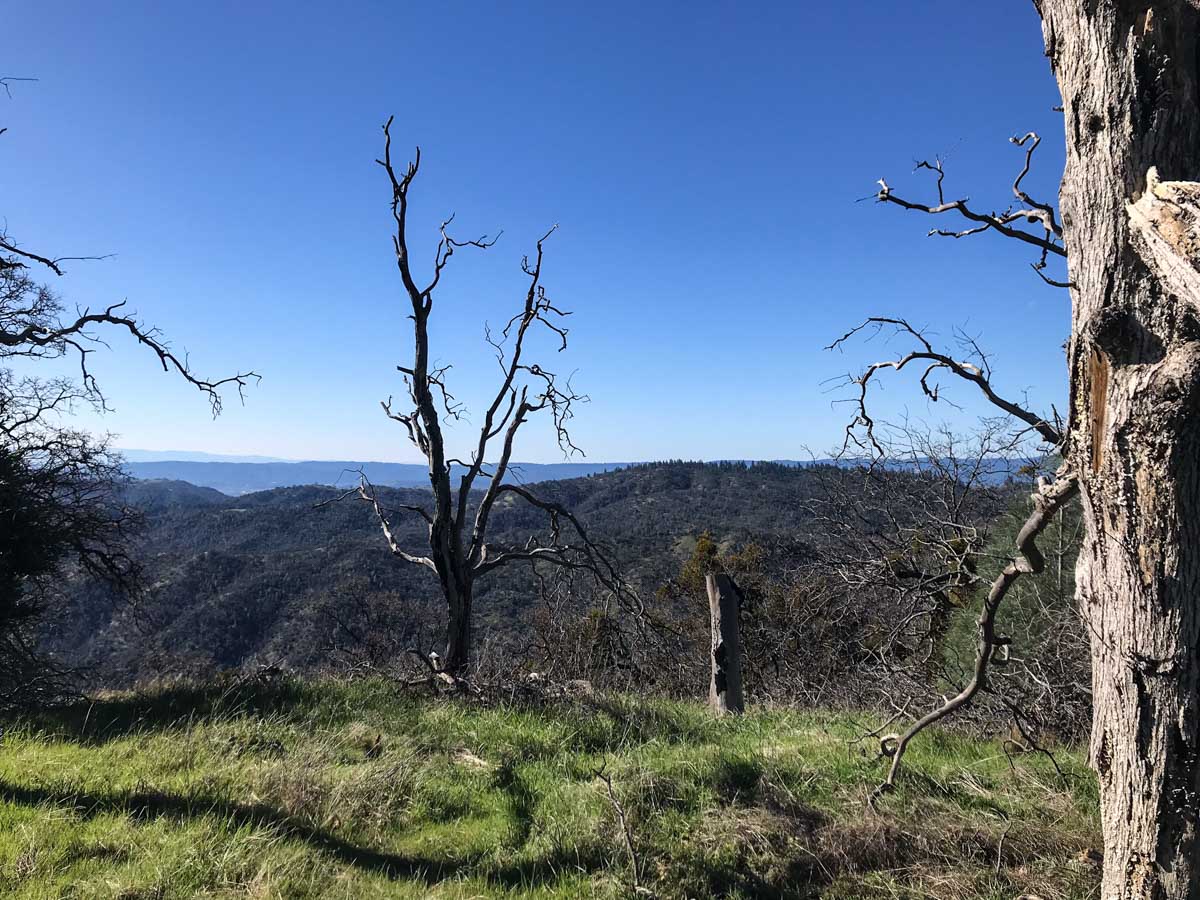
Once at the top of Middle Ridge, you get a great view of Blue Ridge and Mount Sizer.

Turn left, following the Middle Ridge Trail for a short distance until it reconnects with Hobbs Road, then follow the road down to Coyote Creek. There are several campsites as you near the creek that would make good overnight options.
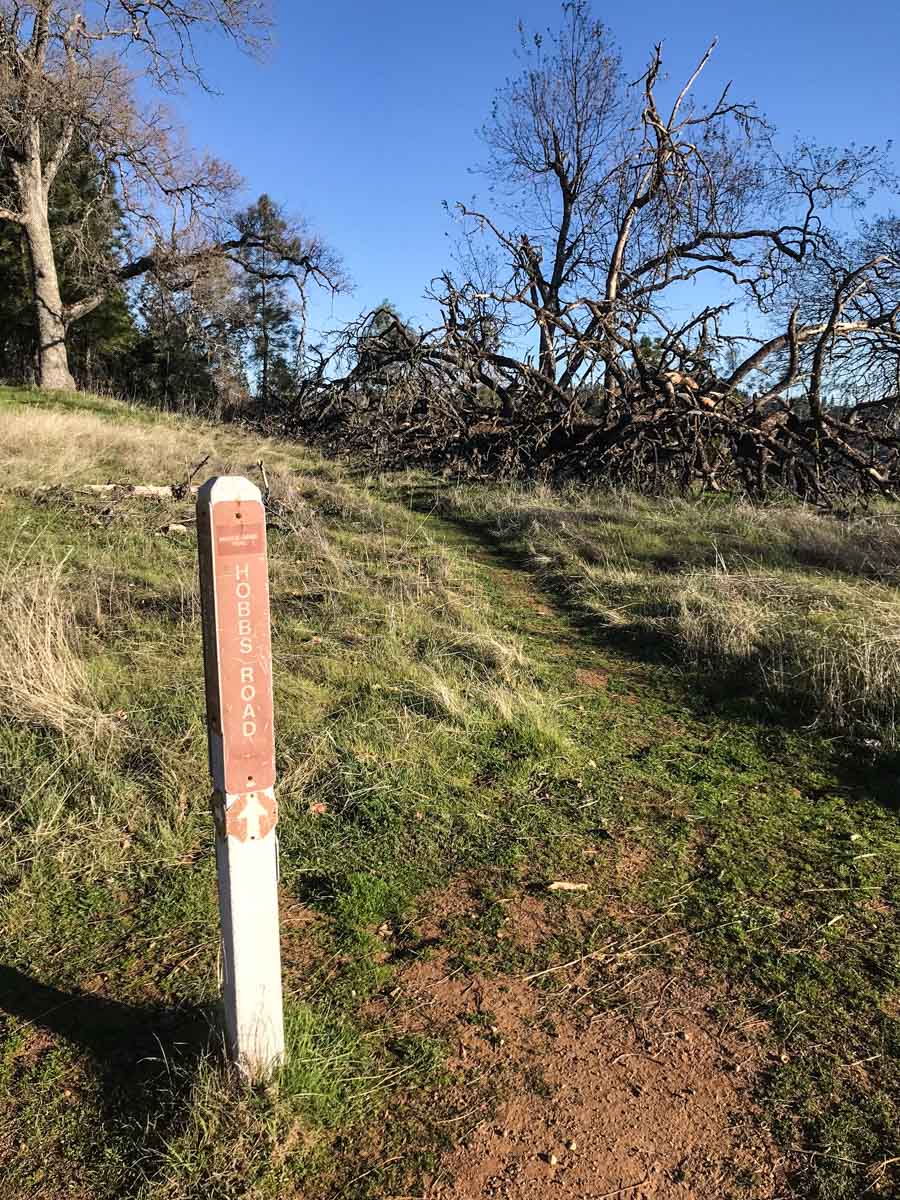
Hobbs Road crosses the Middle Fork of Coyote Creek. You can usually rock hop across this pretty easily.

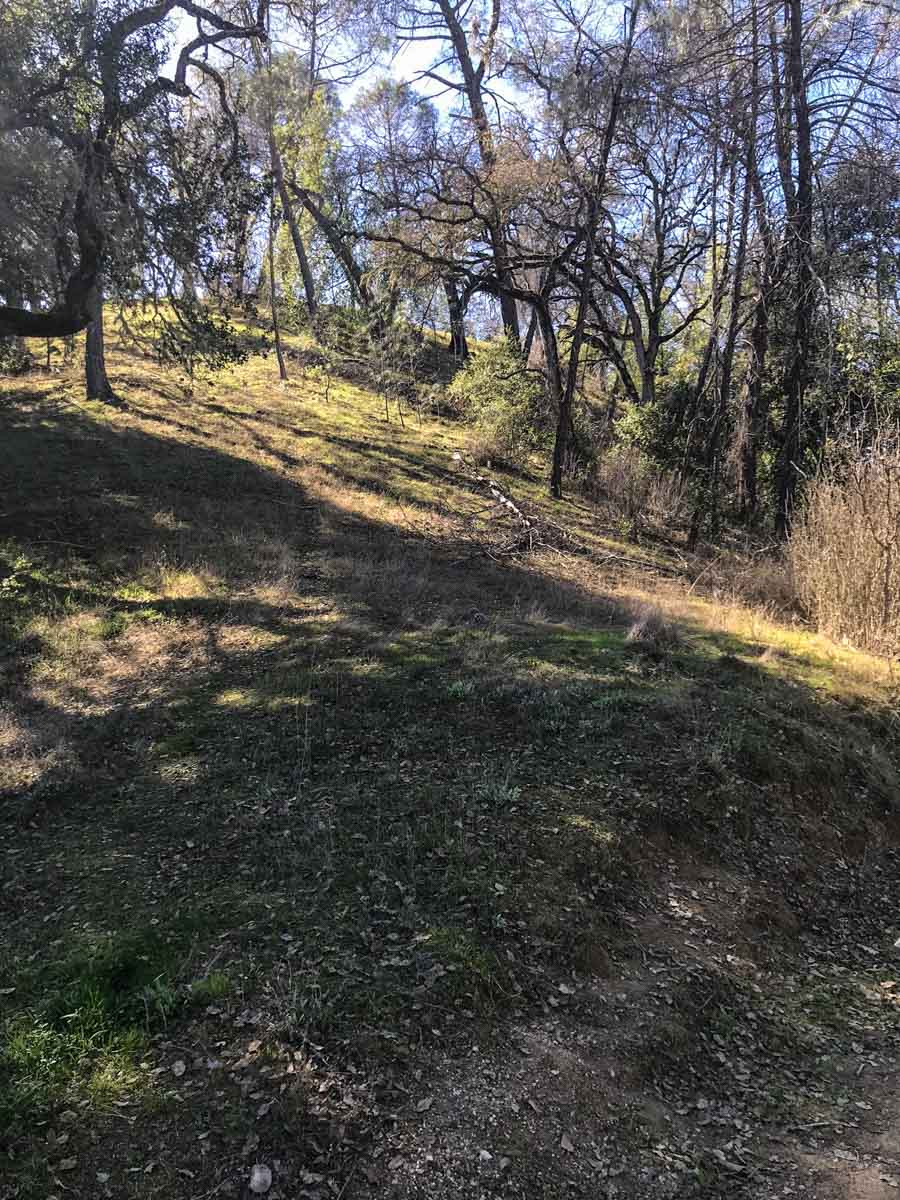
After the crossing Hobbs Road climbs up to the top of Blue Ridge. This section of trail climbs 1,500 feet in just over a mile, and is considered to be the steepest trail in the Bay Area.
Thankfully there’s a bench waiting for you at the top to give you a rest.

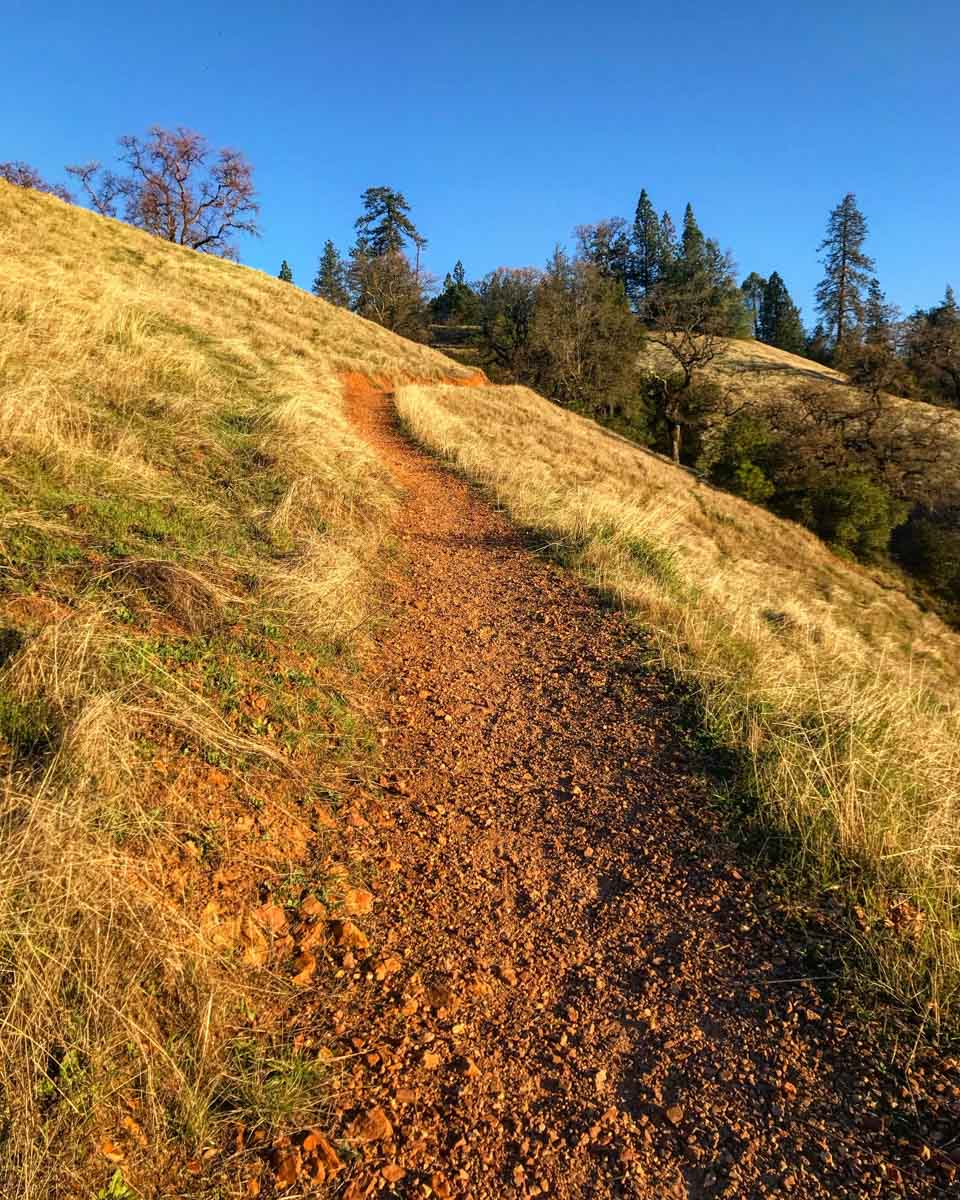
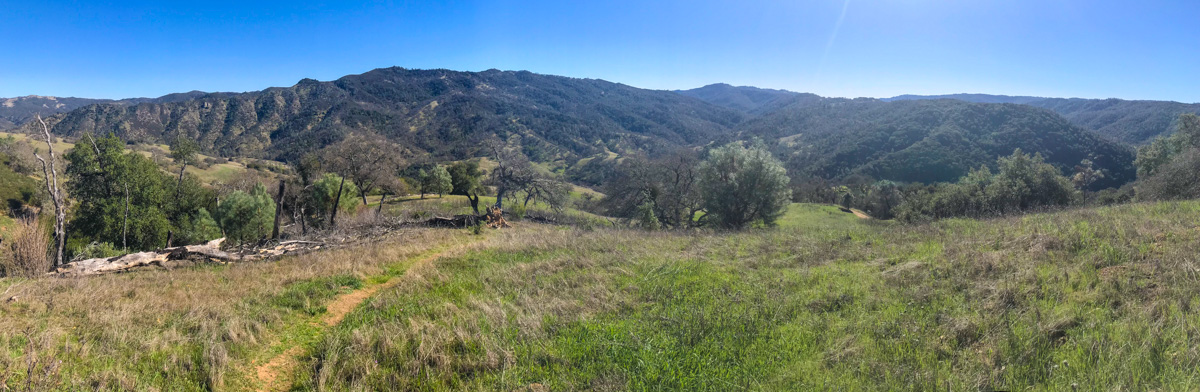
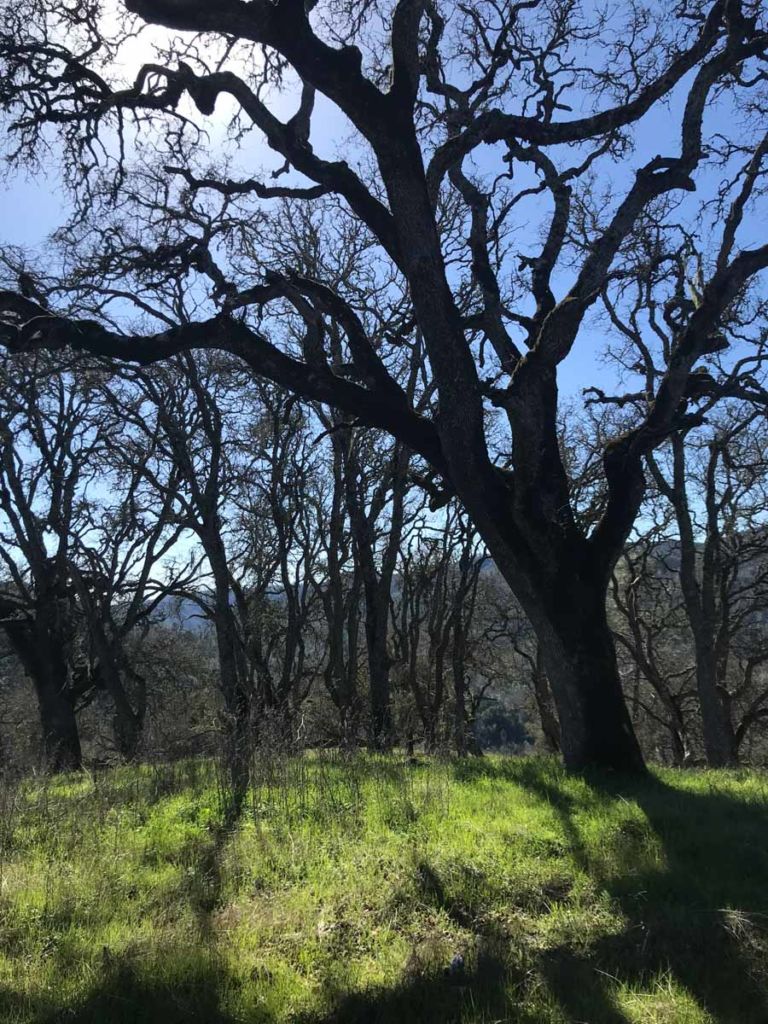
From here, follow the Blue Ridge Trail as it gentle rolls along. You have great views on either side of the ridge as you follow the dirt road. There are a few points where other roads veer off down the hill, but stick to the ridgeline until you approach Mount Sizer.

At Mount Sizer, you’ll take a spur trail to the north then follow a faint social trail to the high point. Mount Sizer isn’t a peak as much as a knoll at this point, but it is the highest point around and you’ve already done a fair amount of climbing to get here. And there’s still more climbing to come!

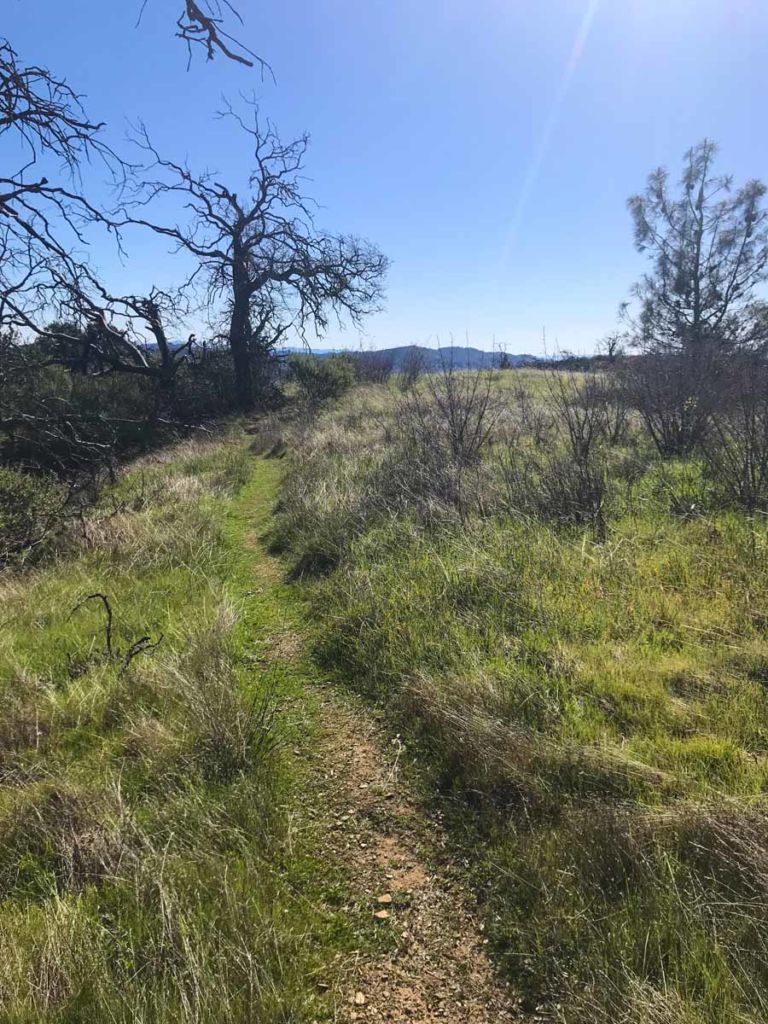
After taking the requisite photos at Mt Sizer, head back to the Blue Ridge Road and continue along the ridge in the same, south-easterly direction. This section is easy and the views fill the sky.

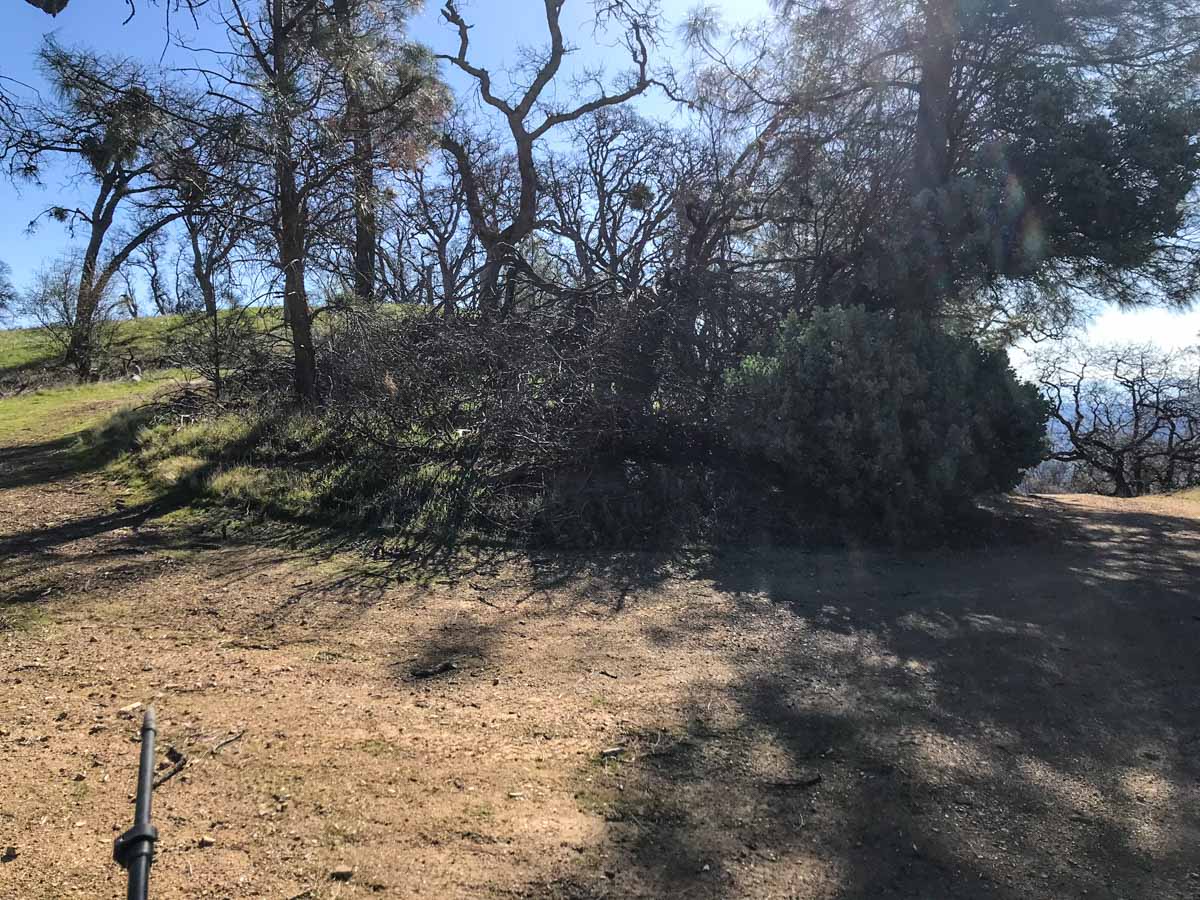
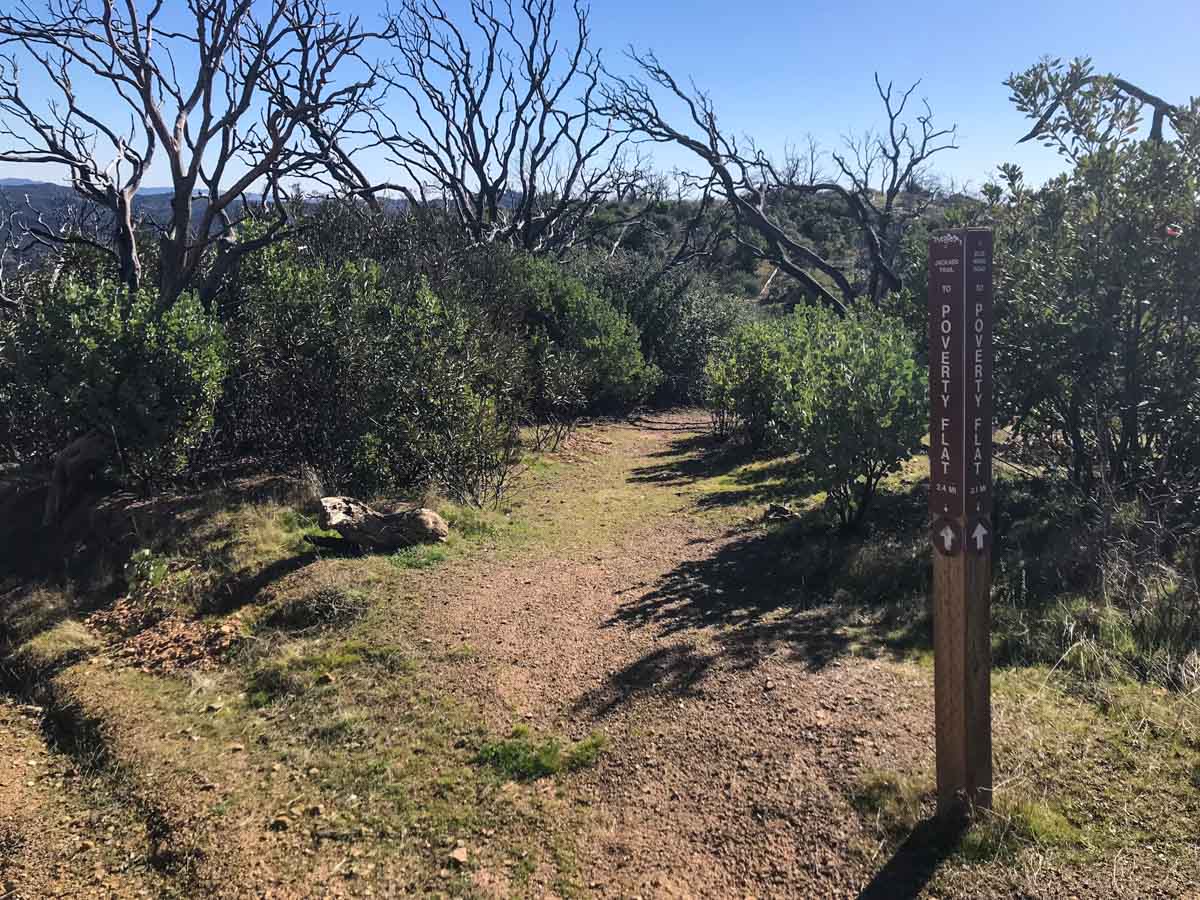
At about 9.5 miles, turn right onto the Jackass Trail. This single-track is the shortest route to Poverty Flat Road. The trail is faint at times, but you travel through varied terrain and see first hand some of the scars of the Lick Fire.

Once you join Poverty Flat Road, turn right (west) and follow it downhill. At about 11.25 miles, you’ll reach a short, social trail on the left that climbs tiny Jackass Peak. It’s a short side trip that only adds a couple hundred yards, but takes you up a named peak. Or you might feel like they named it after you. 😉
Continuing down Poverty Flat Road, you come across Coyote Creek and a number of campsites, complete with pit toilet.

This section was quite beautiful, even before the sycamore trees sprouted their spring color.
The crossing of Coyote Creek was made easy by well-placed rocks. Coyote Creek is also the last place to refill your water on this loop–a good idea before the final climb back to the park headquarters.

Thankfully, much of this climb is at least partially shaded, providing some relief on a sunny afternoon.

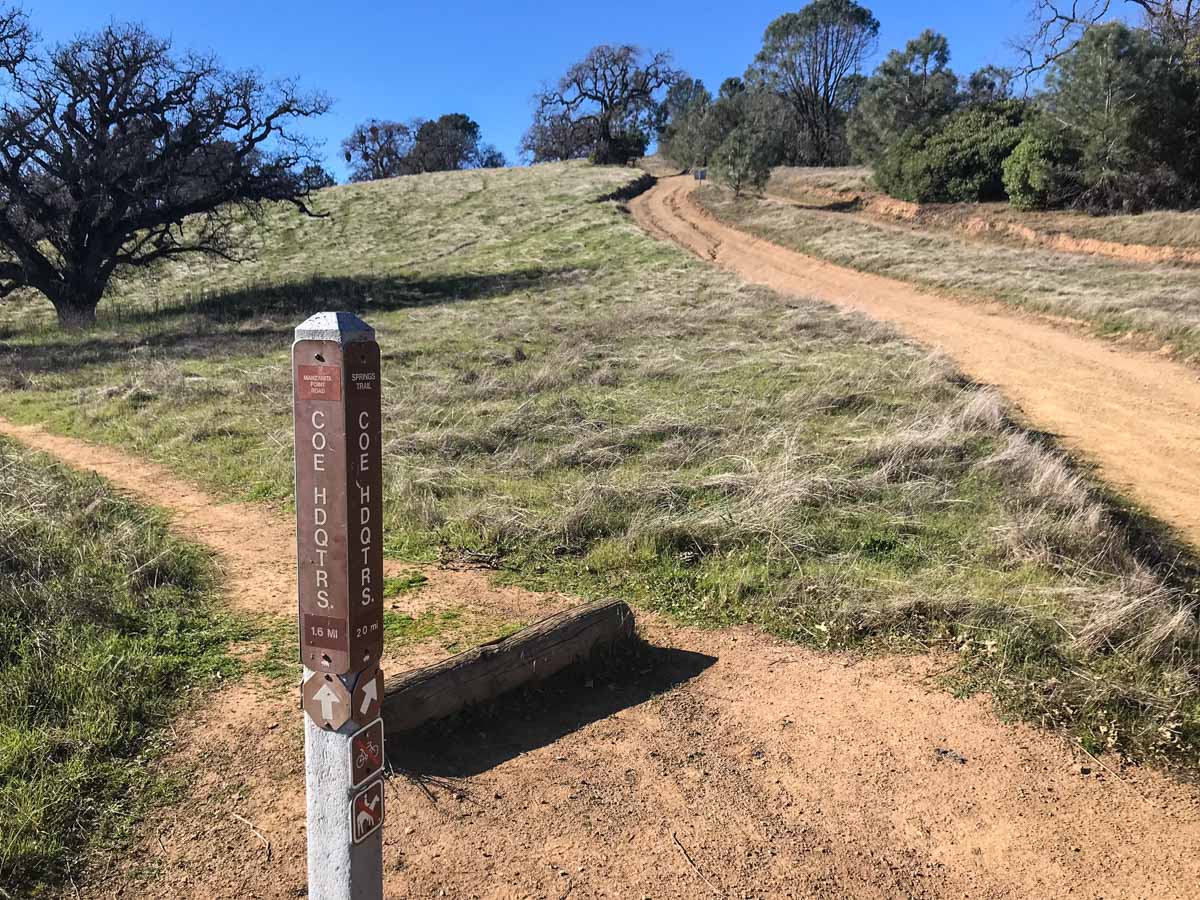
This climb reaches Manzanita Point Road. At this dirt road, there are several options to get back to the park headquarters. I chose to follow the main road for about a mile before peeling off to the left on a single track trail for the final .75 mile back. The other routes are equally viable, but this was the most direct.
I knew I was getting close to the trailhead as I began to encounter more people. I hiked all the way to Mount Sizer without seeing another soul. On my way down Poverty Flats, I counted one mountain biker and two backpackers. As I hit the final mile back to the trailhead, I saw several groups of people meandering through the meadows and trees.
Finally, the old ranch buildings at the headquarters appeared ahead.

This trail was a great loop, and I highly recommend taking the clockwise direction (as I did). There are long exposed sections, so get an early start and avoid the really hot days of summer. This trail wouldn’t be nearly as enjoyable in rain, and I’ve heard that the creek crossings can even become quite dangerous during storms. It can be hiked in a day. I drove down from Berkeley, hiked the loop and drove home in the same day. This would also make a great backpacking trip, with a number of first-come, first-serve campsites and reliable water sources.
Mount Sizer Loop Trail Map & Elevation Profile
Mount Sizer Tips & Resources
- There is a day use fee. On the weekday I hiked this, I had to put my payment in the provided envelope and leave it in the “iron ranger” at the visitor center. When the Visitor Center is open, you can make payment there.
- I had cell reception on most of the ridgeline trails (using AT&T). But as this is fairly remote, your mileage may vary.
- Naturally, you’ll want to carry the Ten Essentials.
- I first learned about this hike from Rebecca’s trip report on Mount Sizer from Calipidder, although my GPS data logged fewer miles and elevation gain.
- Check the official park website for up-to-date information on fees, permits and events.
- This trail is part of the Bay Area Six-Pack of Peaks Challenge. Join today!
Originally hiked on February 7, 2018.
You must be logged in to post a comment.