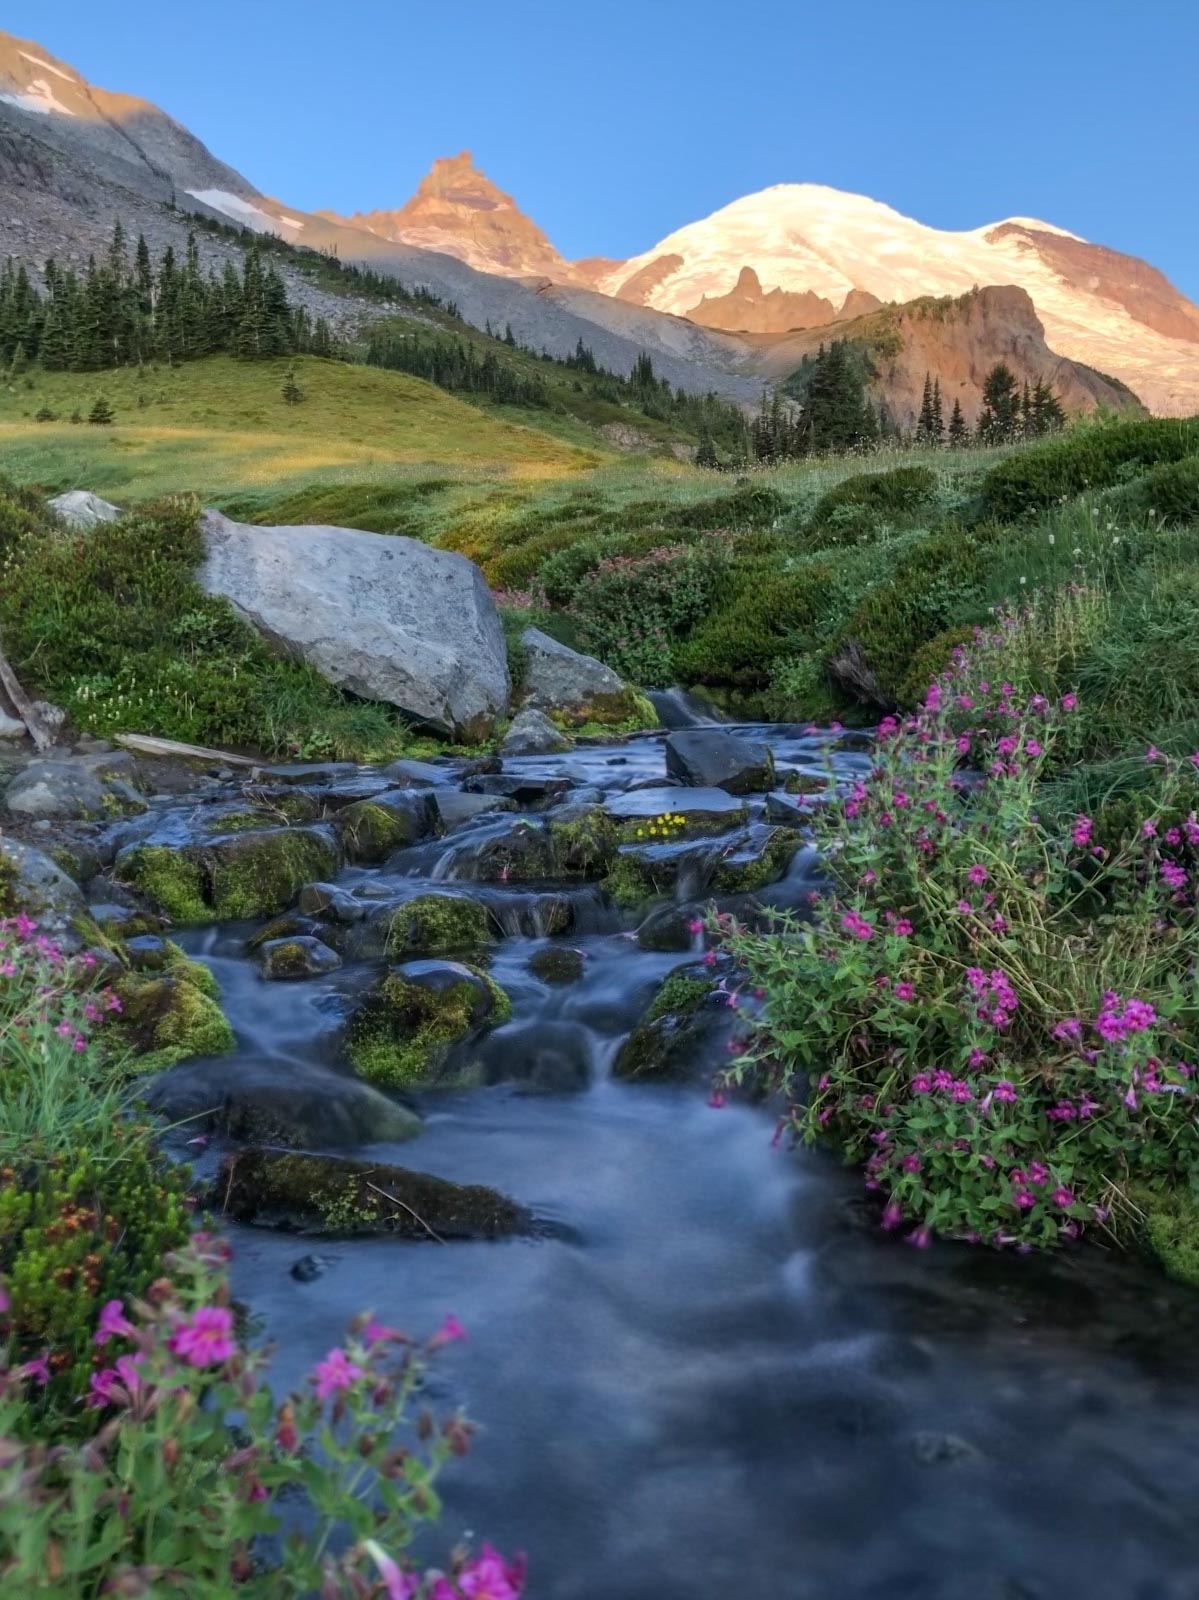
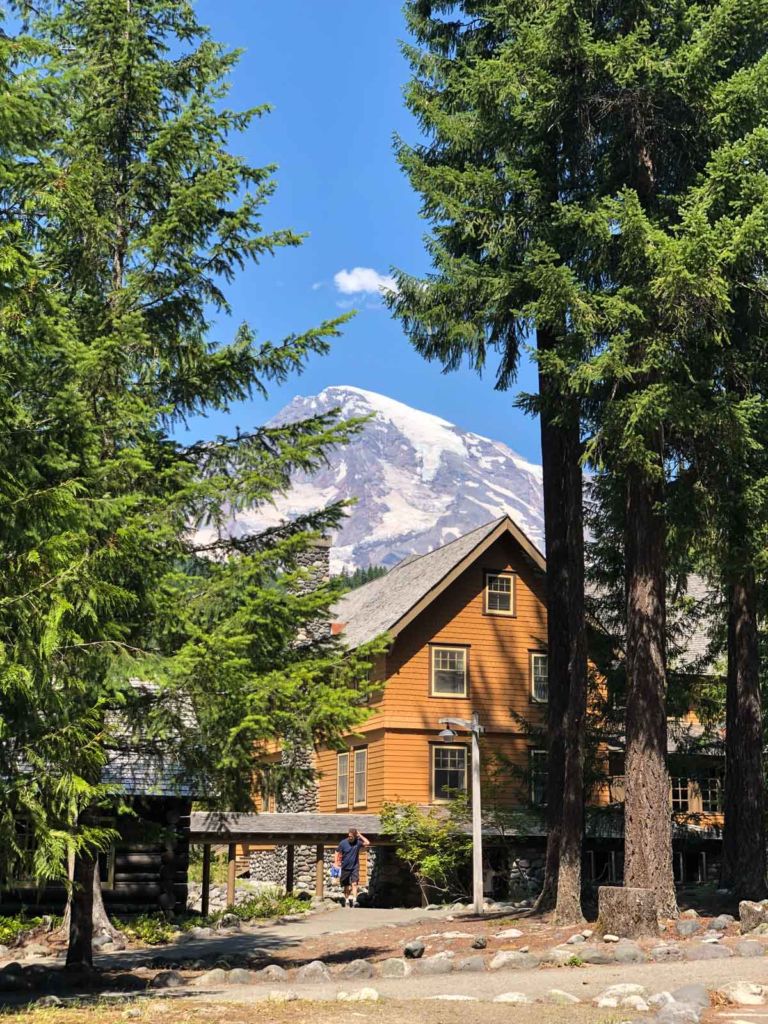
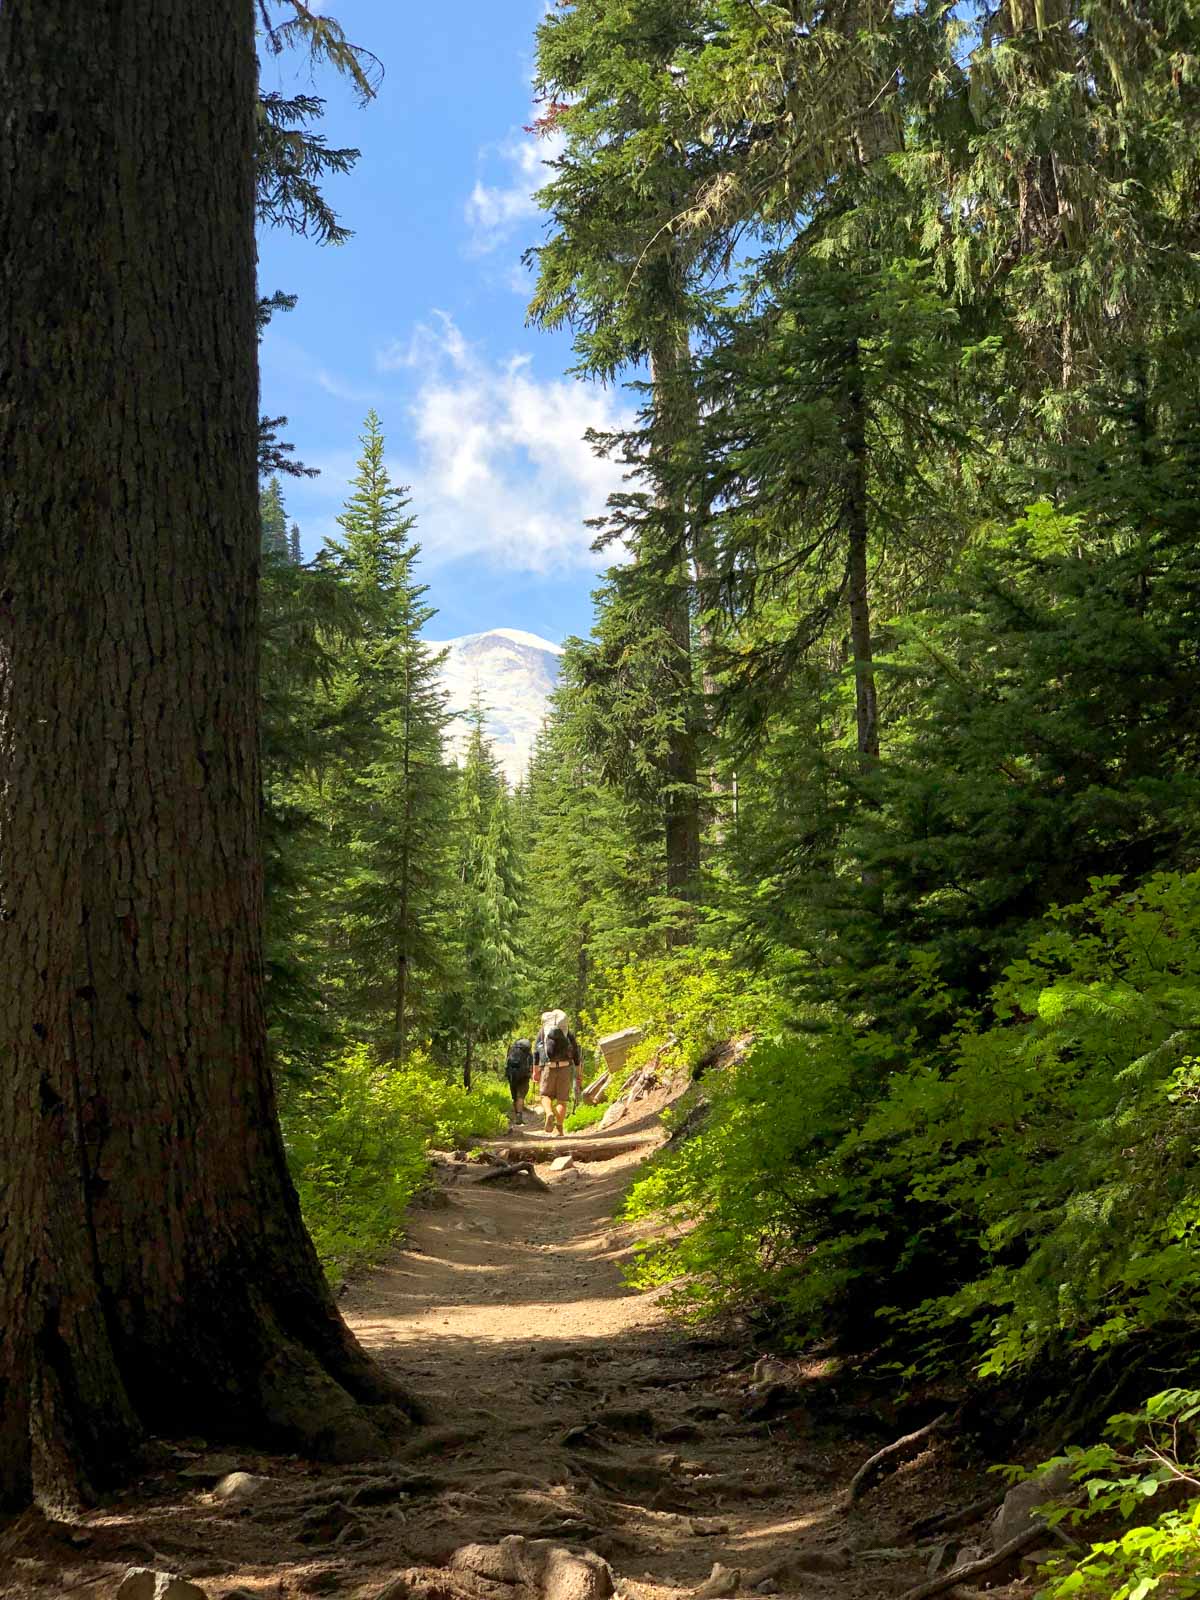
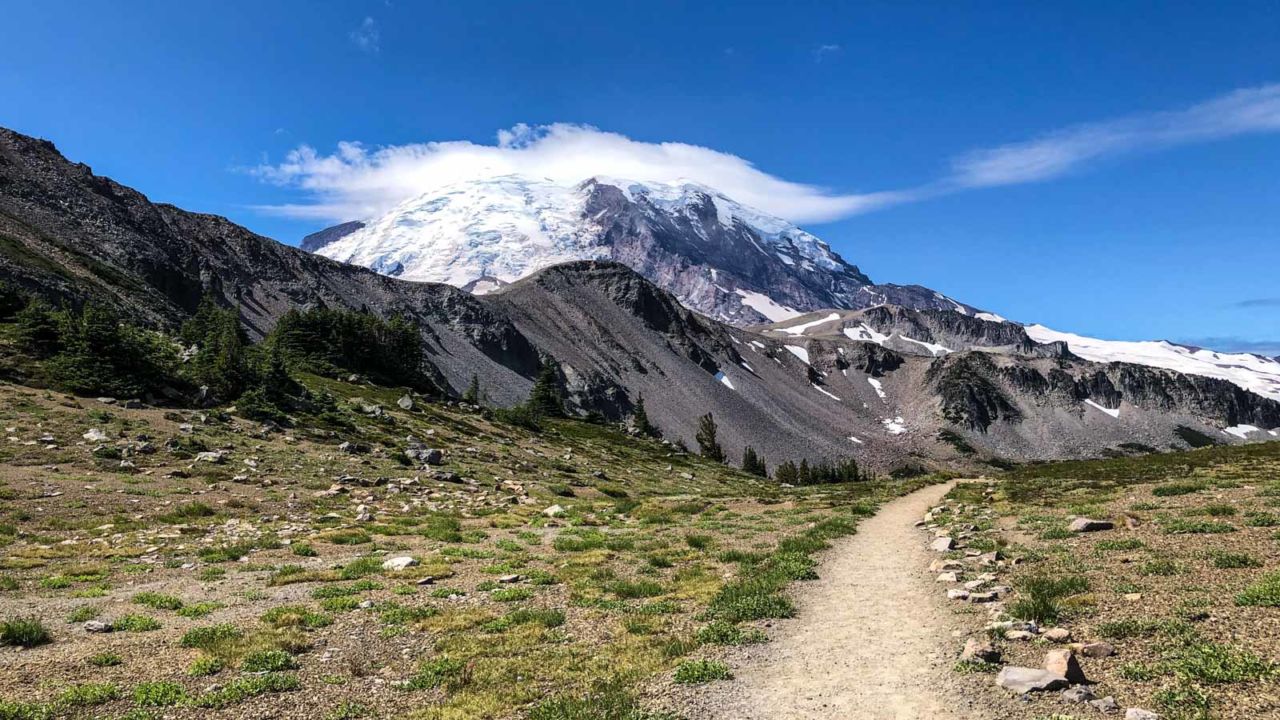
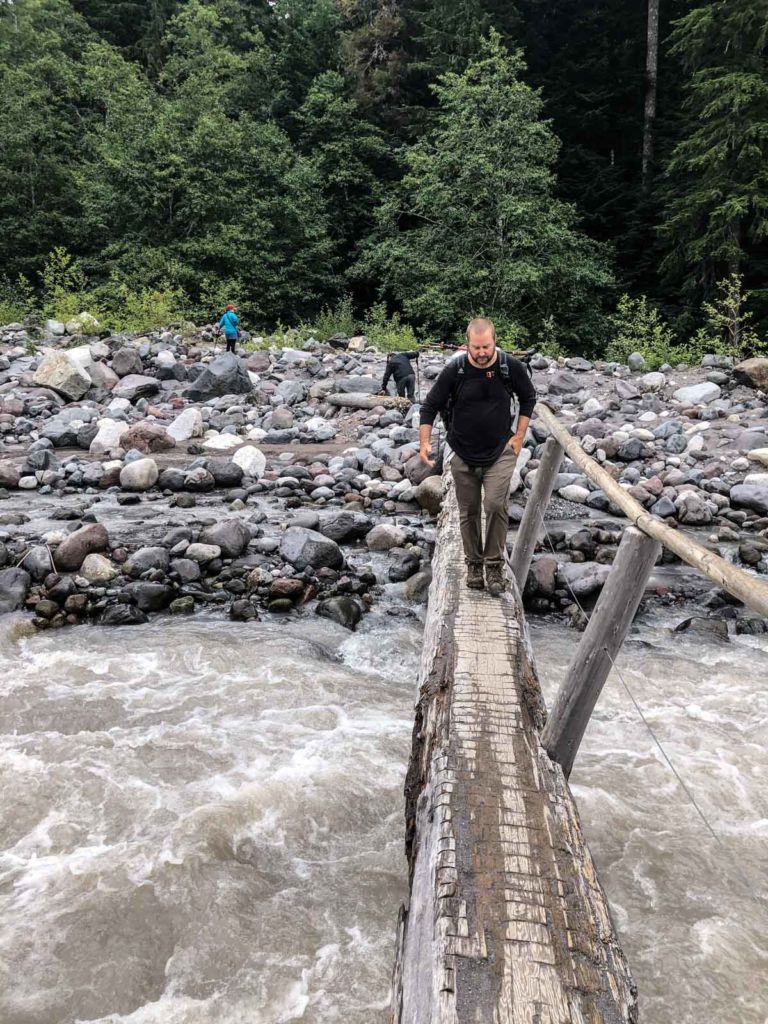
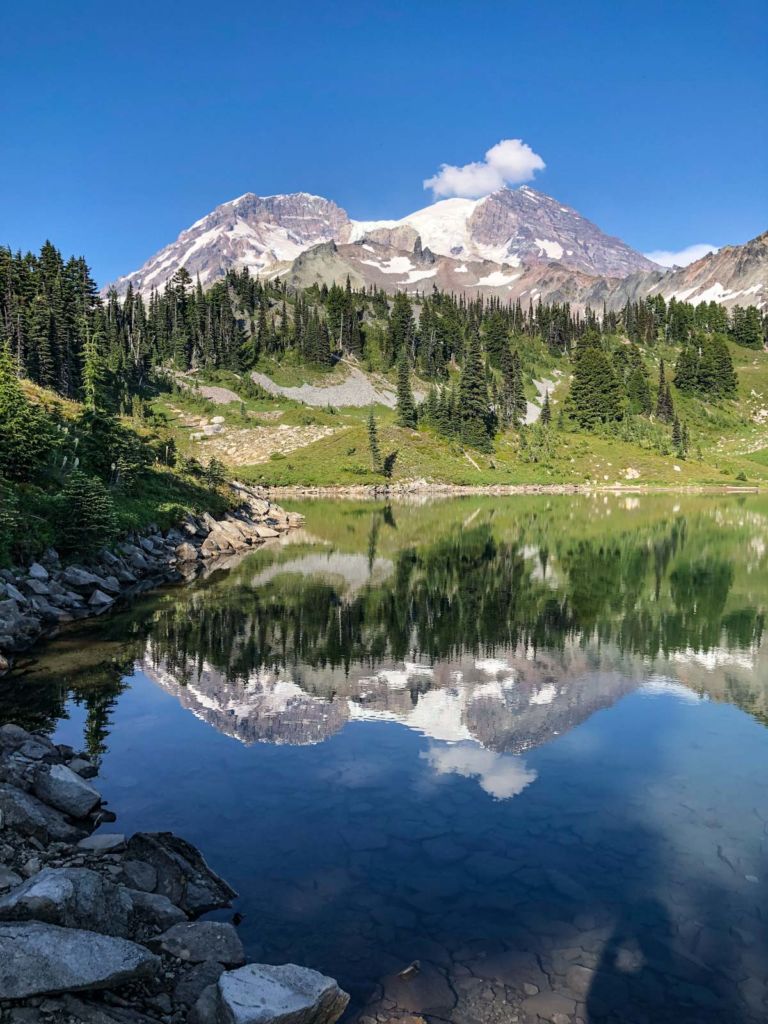
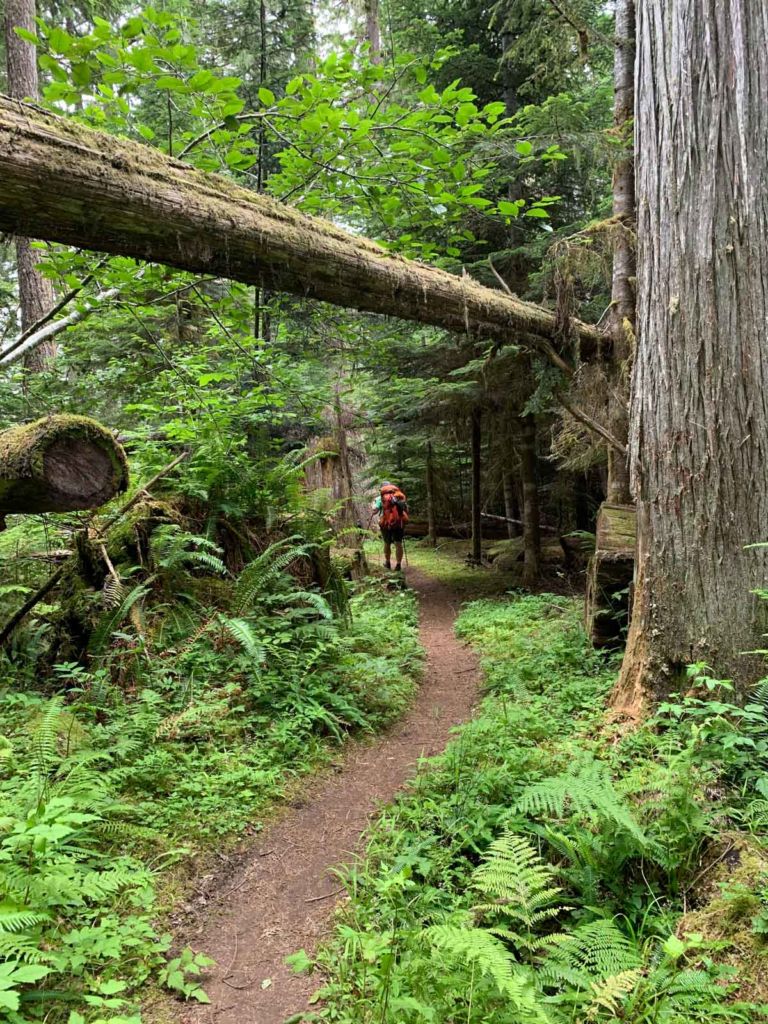
Backpacking the Wonderland Trail in Mount Rainier National Park is a great way to test the thru-hiking waters to see if it’s for you. Joan and I visited Mount Rainier National Park for the first time in 2018, as we were scouting trails for the Pacific Northwest Six-Pack of Peaks Challenge. We were awestruck by this majestic mountain. The 14,411 foot active stratovolcano is so massive that it creates its own weather systems. I knew I’d be back.
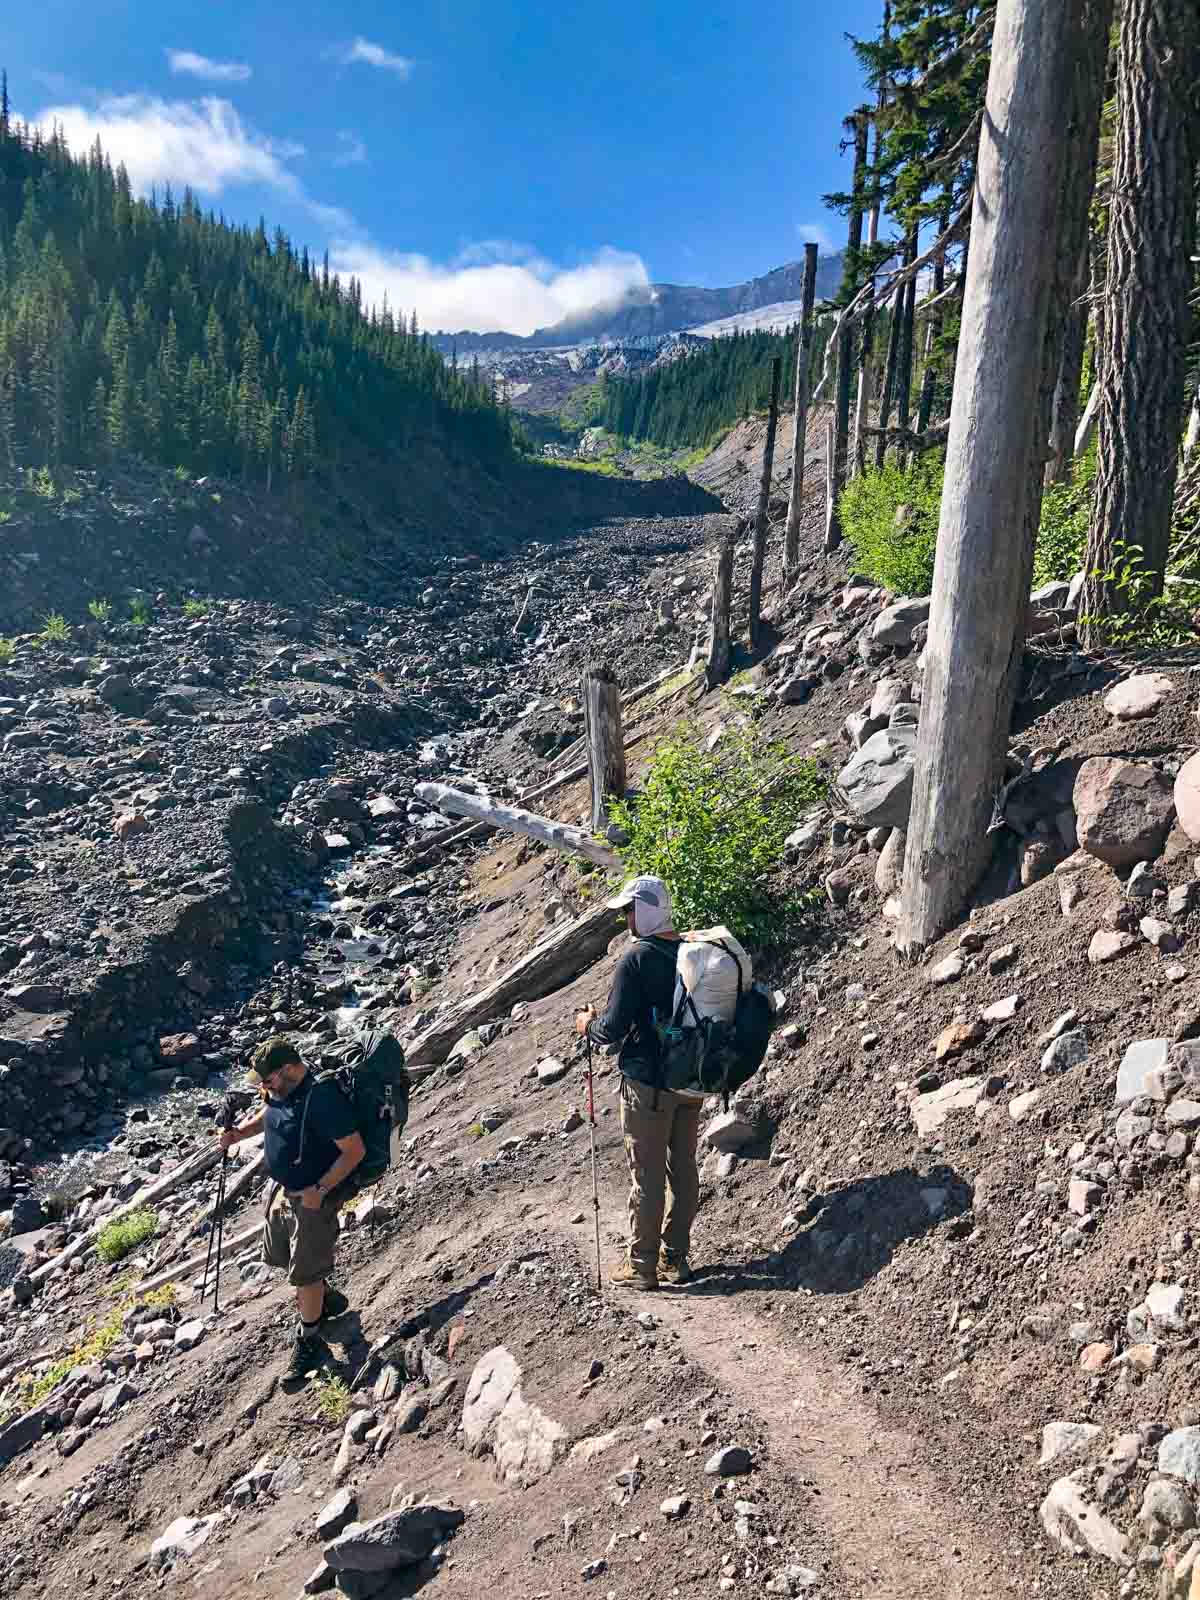
The Wonderland Trail is a 93-mile trail that loops completely around Mount Rainier. You might assume that it’s easier because it’s going around a mountain rather than over mountain crests. You would be wrong. The Wonderland Trail climbs and falls 23,000 feet over those 93 miles. You are constantly either going up or going down.
Once a year, my friend Jason and I sign up for a half marathon near a different National Park. We’ve run at Zion, Grand Canyon, Glacier and Grand Teton. In 2019, we were hoping to sign up for the Rocky Mountain race, but alas, it’s held once every two years, and 2019 was a “bye” year. So we hatched an alternate plan: thru-hike the Wonderland Trail. Shortly after we announced our intentions our friend Derek signed on and we had a team.
Jason had previously attempted a thru-hike that was aborted due to his hiking partner’s illness, so this was a sort of “redemption hike” for him. He suggested modifying our route from the official trail, taking more scenic Spray Park route between Mowich Lake and Carbon River. This guide covers the Wonderland Trail using the Spray Park alternate.
Wonderland Trail Map & Elevation Profile (Spray Park Alternate)
Itinerary
After hiking the John Muir Trail and many other trips in the Sierra Nevada mountains and elsewhere, I was surprised to learn that there is no dispersed camping along the Wonderland Trail (there is dispersed camping in the park, but by specific permit, and generally well off the Wonderland Trail). On the Wonderland Trail there are 18 established camps (plus two more on the Spray Park Trail), each with a specific number of sites.
Campsites are designed to accommodate up to five people and two tents, with some camps also having group sites that could accommodate up to 12 people. Your permit requires a detailed, day-by-day itinerary that states which campsite you will stay at on each specific date of your trip.
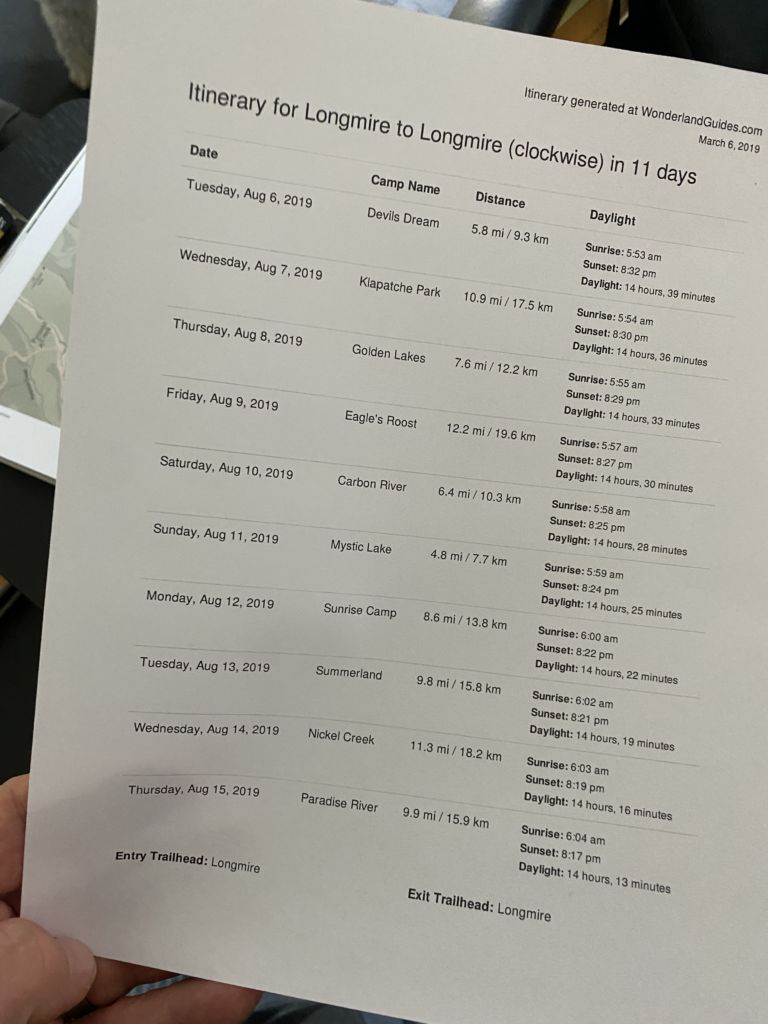
When we did our original planning, we were using an 11-day itinerary using this excellent online itinerary planner. It provides some really useful tools, including the distance between camps, sunrise/sunset times and hours of daylight.
Clockwise or Counter-clockwise? When you plan your itinerary, you’ll need to decide where you want to start, and whether you want to hike clockwise or counter-clockwise. Most folks hike clockwise, where the biggest inclines are not as steep. Either way, you’ll cover the same mileage and climb (and descend) the same total vertical feet. We happened to hike clockwise.
Permits
Scoring permits for the Wonderland Trail turned out to be our first challenge. You can submit your permit request beginning on March 15th. Permit requests are only accepted online, but there is no rush to submit. Submit your request anytime between March 15th and March 31st. Rangers begin processing the requests on April 1st in random order. Each permit request includes a non-refundable $20 fee that is paid whether you are awarded a permit or not. You increase your odds by having flexibility in start dates and avoiding peak times (weekend and holidays).
In our case, the three of us each applied for a permit, with different start dates and slightly different itineraries. Our hope was that at least one of us would get a permit. Sadly, none of us got a permit.
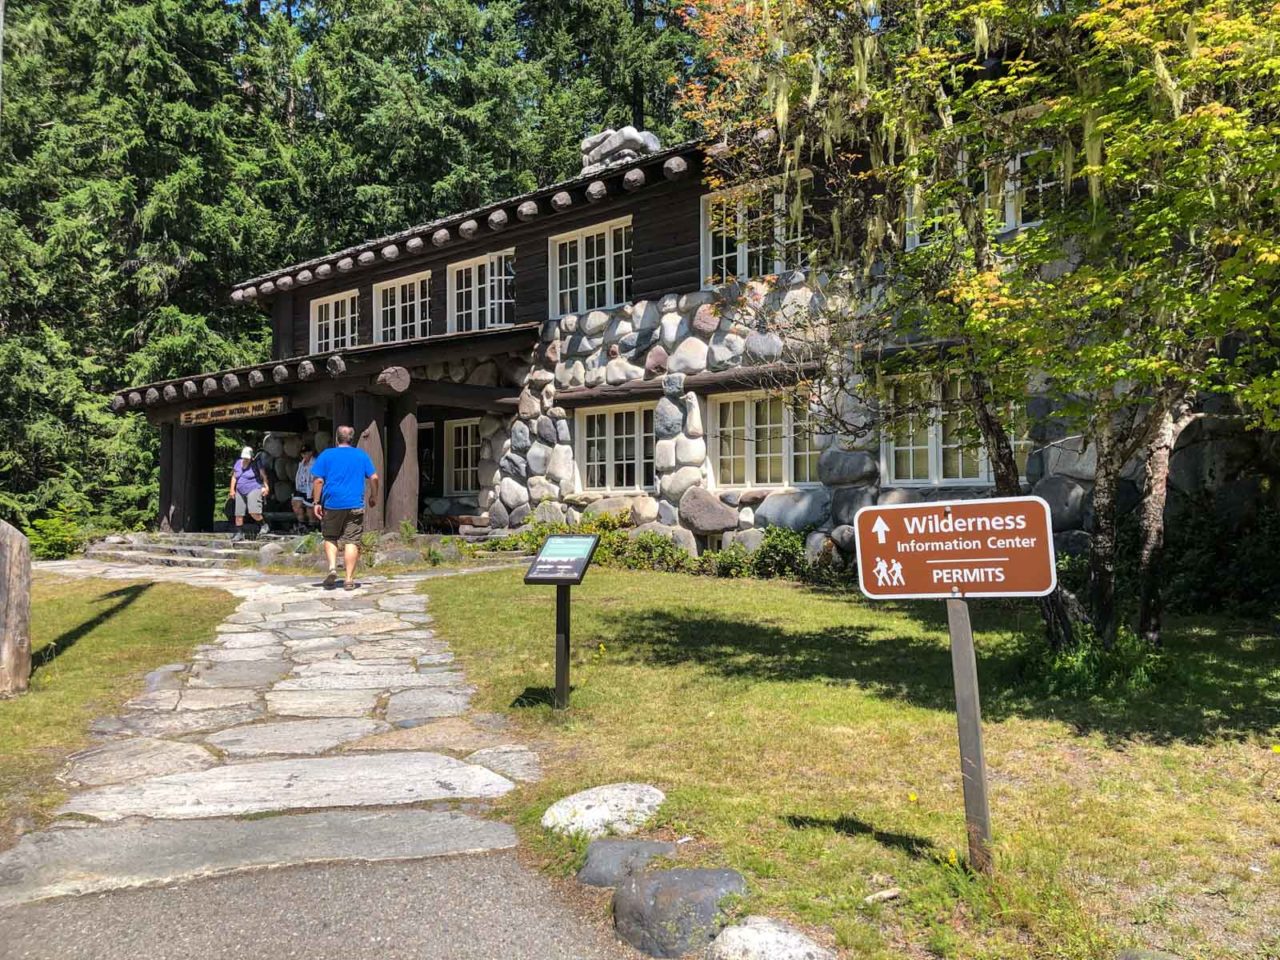
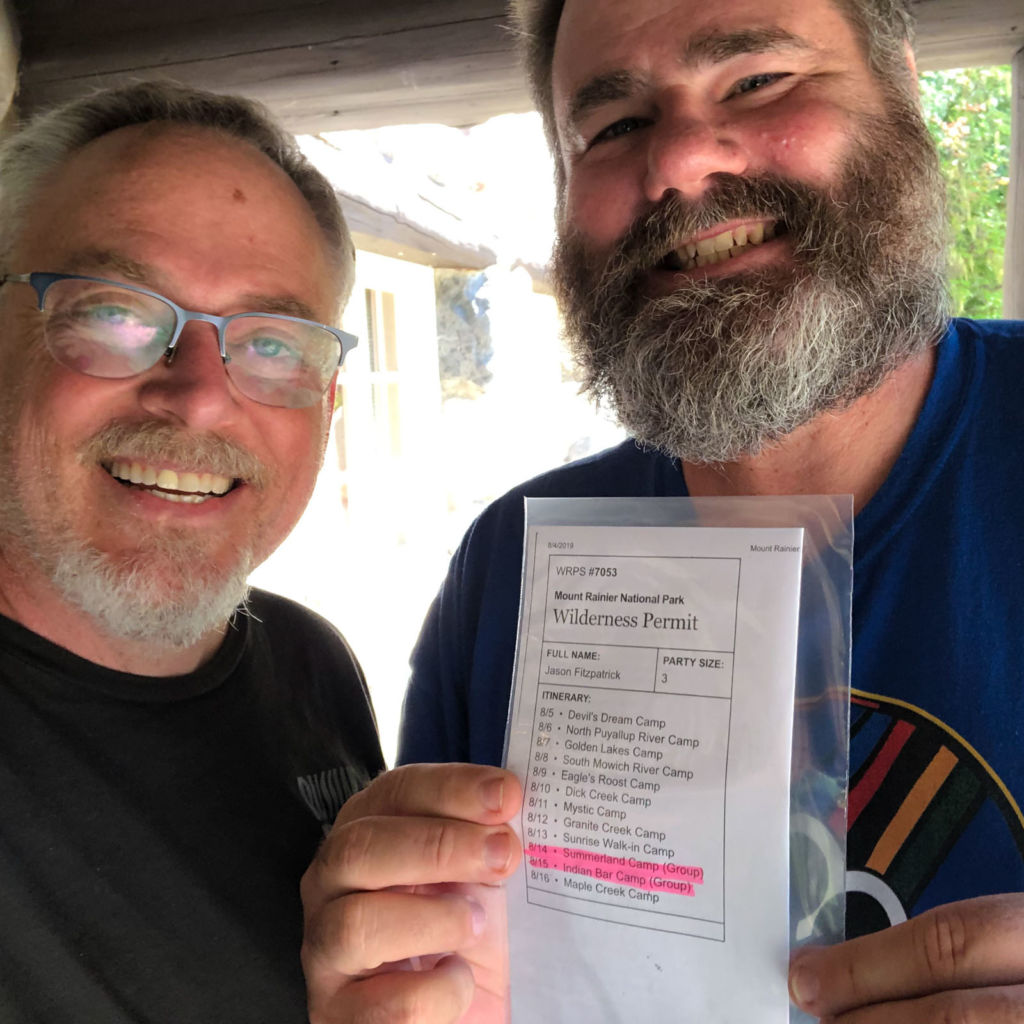
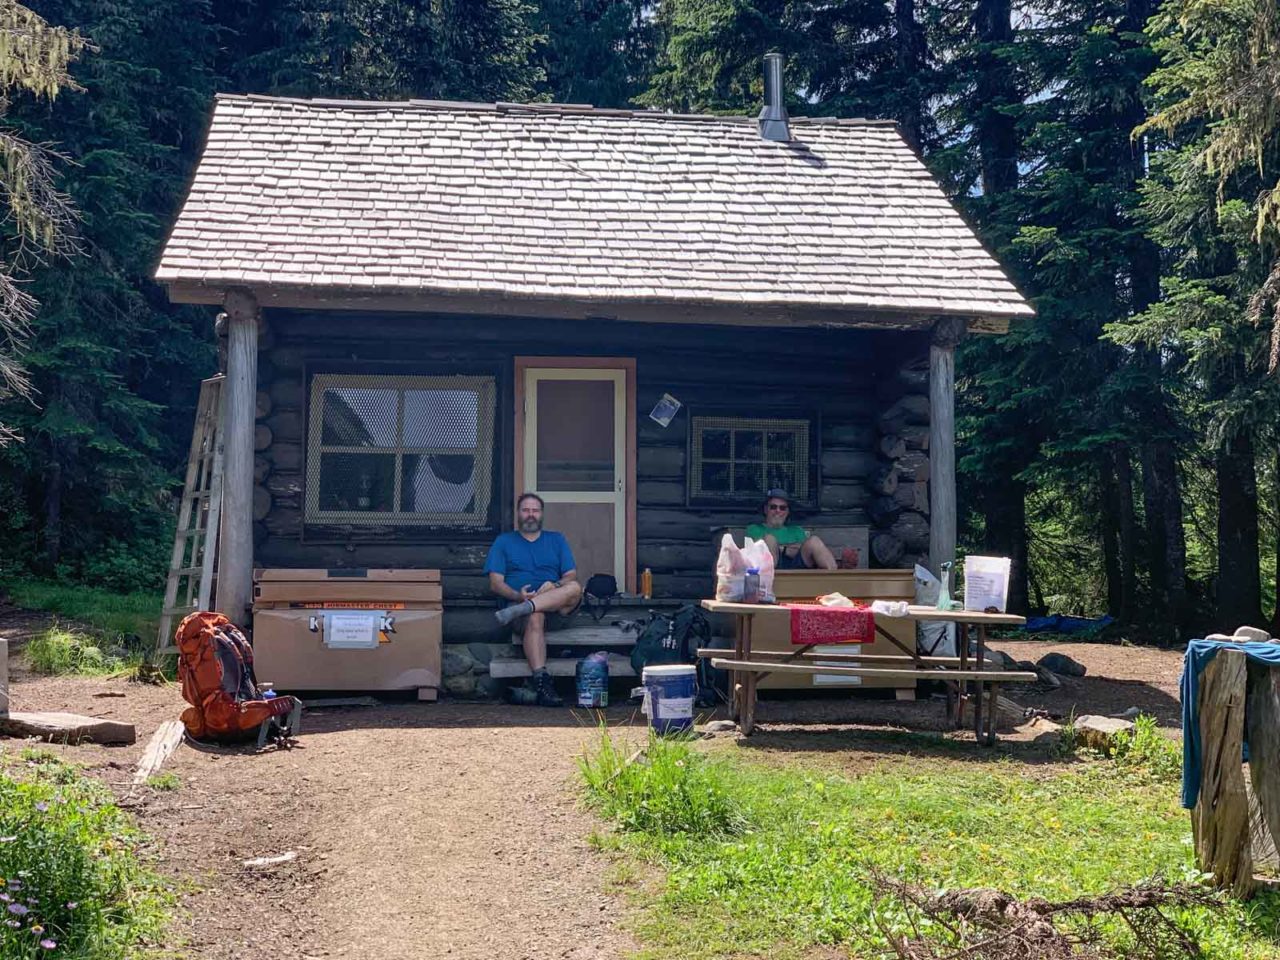
Fortunately, 30% of the campsites are reserved for walk-in permits. We had allotted two weeks for the trip to give ourselves flexibility, and decided to take our chances. Jason and I drove to Longmire on Sunday and found an open car campsite at Cougar Rock Campground. Once we reserved that, we drove down to Longmire, walked into the Wilderness Information Center at 2pm and walked out 30 minutes later with a permit to start the trail the next day.
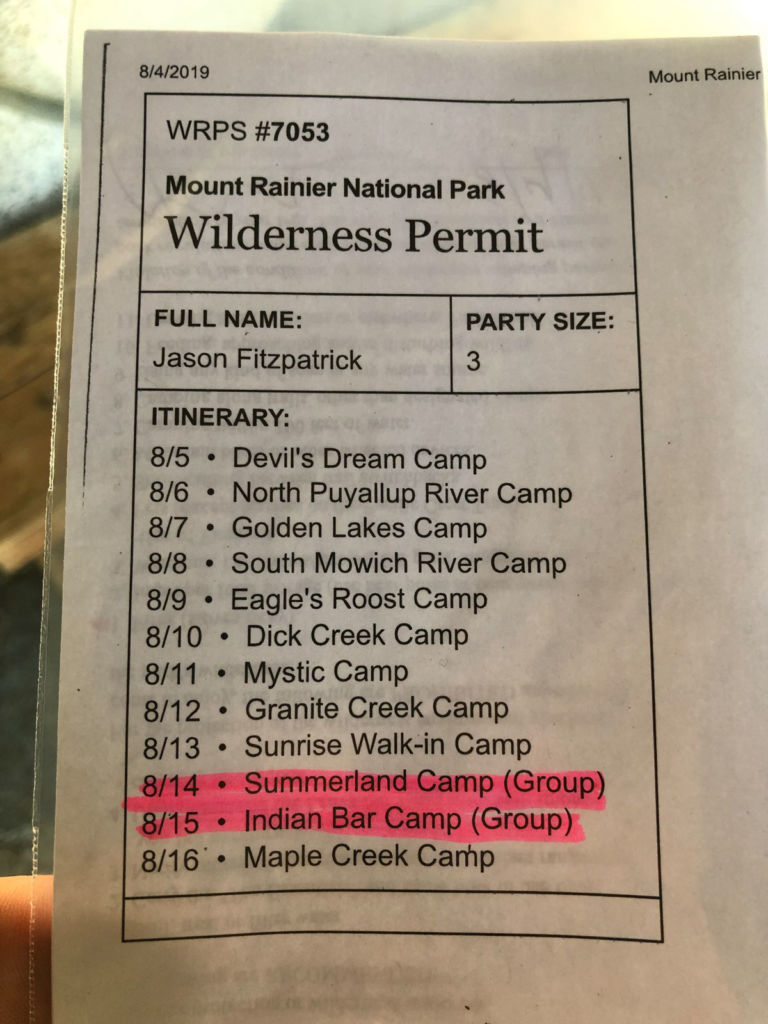
Instead of doing the trail in 11 days as originally planned, we opted to maximize our available time off and take 13 days to hike the trail. Because of the lengthy duration of our trip (most trips on the Wonderland Trail are closer to 6-9 days), we were able to score some of the most-coveted campsites along the way. Your permit lists your day-by-day itinerary, and must be attached to the outside of your pack when hiking, and your tent when camped. And in case you’re wondering, rangers checked our permits two times along the trail.
For walk-in permits, the ranger handed us a blank itinerary and a print-out showing current availability for each campsite by date. We were warned to be quick about filling it out, as there are three ranger stations on the trail where hikers can request walk-in permits. All are working from the same availability data, so while a site might be available when the ranger hands you the list, by the time you turn in your itinerary, someone at a different ranger station may have already taken that last campsite. In our case, we were pretty lucky. First, we were starting on a Monday (rather than a weekend date). Second, we had 12 nights of camping along the way. While the first two days would require a lot of miles, we would have plenty of short, easy mileage days on the second half of our trip.
Resupply
There are three main locations to ship or cache resupply packages: Longmire, Mowich Lake and Sunrise. Our hope was that we would start in Longmire, so we shipped resupply packages for both Mowich Lake and Sunrise. Another option would be to drive to the location(s) where you want to put a cache, which is feasible if you have day before you begin your thru-hike. Following the directions on the NPS website, we shipped in 5-gallon plastic bins, taped shut, via Fedex. It was expensive (~$158 for four buckets) so that might factor into your decision on the number of resupply packages, or whether you want to hand-deliver them the day before your trip begins.
One important tip: The NPS website tells you to write the date that the cache will be picked up on the container, but it doesn’t explain why. They have bear-proof storage boxes that are not large enough to store all of the caches. The rangers will fill the storage boxes with the caches based on the pickup date, and store the remainder in a secure area that you cannot get to. Since we were shooting to get walk-in permits, we didn’t know exactly what dates we would pick-up each cache, so we put down a date range.
As it turned out, all three of us got our resupply shipments at Mowich Lake, but Derek’s package was not in the storage at Sunrise. Fortunately he was able to track down a ranger who was able to open up the building where the other caches were stored, and his resupply package was found. The date of pickup is important, or else be sure to get there before the ranger station closes.
If you ship your resupply packages, bear in mind that you cannot ship fuel. We planned for this and carried a bit extra from the start. We were able to purchase additional canisters as well as snacks at the small store at Sunrise.
Planning Resources for Backpacking the Wonderland Trail
- Wilderness Camping & Hiking – Overview and essential info from the Mount Rainier National Park website
- Caching Food and Fuel – Official Mount Rainier NPS site
- Hiking the Wonderland Trail by Tami Asars – The Mountaineers Books
- Wonderland Trail Itinerary Planner
- Essential Wonderland Trail Resources – includes the tools we used both for planning on on trail

Postscript
Would I have done anything differently were I to hike the trail again?
- I combine a few of the days and complete the trail in 11 days vs 13 days. I enjoyed the lazy short days, but they were maybe a little too lazy for me.
- I would put more variety and just plain thought into my meal planning. I did the expedient thing, and brought dehydrated meals for dinners. Towards the end I was yearning for something a little different, and I think that could be achieved by putting a little more thought into the planning and preparation.
- One thing that was a hit? Flour tortillas and Nutella. Tasty, durable, packable, and loads of energy. I learned that tip from Carsten Jost when we backpacked in Grand Teton National Park. It’s a keeper.
- And for another perspective on the same trip, check out Derek’s Wonderland post over at 100Peaks.com.
Jeff has hiked and explored trails for over 50 years, covering everything from casual canyon walks to rugged multi-day Sierra routes. He started SoCalHiker.net in 2010 to document the trails he loves — and to make it easier for others to discover them.
Originally hiked between August 5-17, 2019 with Jason Fitzpatrick and Derek Loranger.
You must be logged in to post a comment.