Hiking to Mount Saint Helena
Very Strenuous
10.7 mi
Out-and-back
10.7 mi
17.2 km
Distance
2,119 ft
646 m
Gain
4,341 ft
1,323 m
Summit
4-6 hours
Est. time

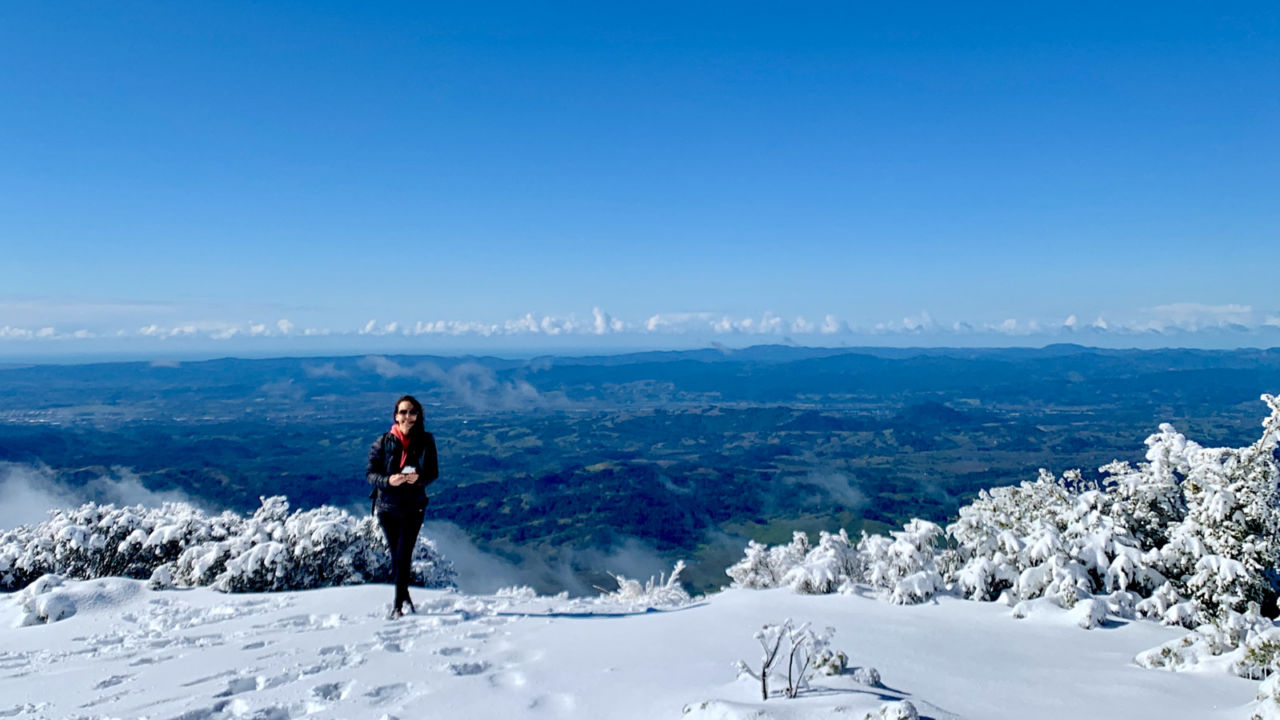
A peak in the beautiful Mayacamas Mountains overlooking Napa Valley and beyond, Mount Saint Helena will give you the best views all around. In Robert Louis Stevenson State Park, this hike is great at different times of the year and one of the few mountains in the Bay Area to get snowfall in the winter.
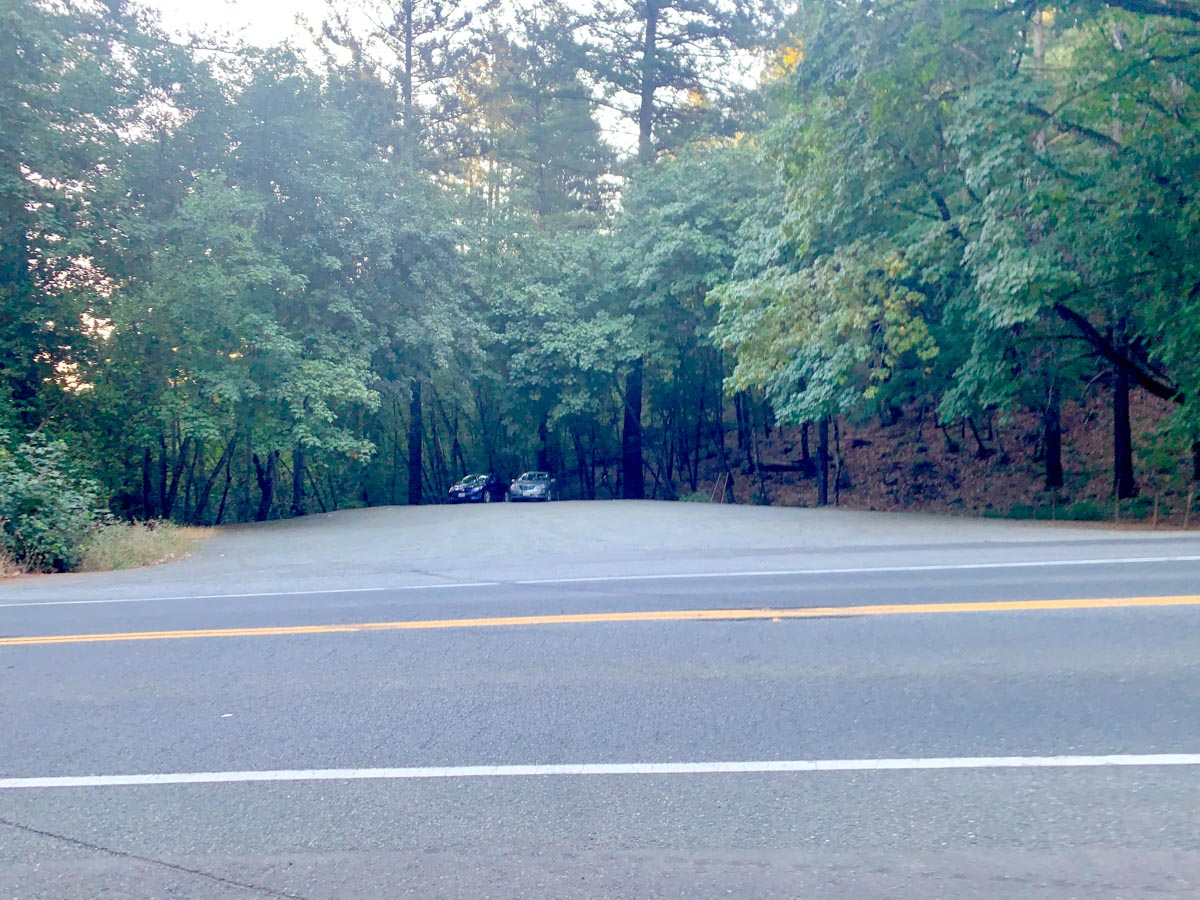
This out and back hike begins and ends at the Stevenson Memorial Trailhead just north of the Napa Valley Wine Country. The parking lot is easy to miss and looks like a large turn around spot. Be sure to arrive early. I have seen it fill up before 7am in the winter. A recent summer trip was a midweek hike and I was the second car in the lot at 6:30am. This trail is popular for hikers, mountain bikers and rock climbers and since 6 miles of it is on the road, an occasional PGE vehicle.
Getting to the Mount Saint Helena Trailhead
From the majority of the Bay Area, it is quickest to take 80 East (though it goes mostly north) past Highway 29, and take 12 west until it intersects 29 at a stop light. Here, go right and drive through wine country! Be sure to scope out ones you may want to visit afterwards.
In the town of Calistoga, 29 takes a right to the stop sign. Continue on 29 out of Calistoga where it begins to get windy. The road proceeds up the shoulder of Mount St. Helena.
At the top, there will be a pedestrian crossing sign promptly followed by parking areas on both the right and left sides of the road, they’re pretty easy to fly by, but that’s where you park. I passed it on my first visit but it was still dark outside, just before sunrise. There is no fee for parking or entering the park but be sure to get there early if you don’t want to park on the busy bustling street.
One visit where I rock climbed on Mount Saint Helena, I camped in a yurt at Bothe Napa State Park a few miles away. A nice little campground and Yurtville where every group had a few bottles of wine. A nice way to unwind after a day of outdoor adventure.
Hiking Mount Saint Helena
The parking lot sits directly across the road from the trailhead and picnic area and is open sunrise to sunset. Be sure to use caution while crossing this busy road.

Just off to the left of the picnic area is the sign for the trailhead, keep a look out for this sign since the trail can be easily missed because it is part of a creek in the early spring and can get quite overgrown. Go right from the sign to start the most challenging part of the climb.

From here, follow the gradually rising and mellow switchbacks up. This first mile is a 443 ft gain and the steepest section of the entire hike.

This 2 mile section is under the Oak, Madrone and Douglas Fir canopy, which is a nice break from the hot sun. It’s just under a mile until you reach the Monument, shaped like an open book: this is where the newly married Stevenson’s cabin was located. I marked it at .8 miles.
Look to the right of this marker and you’ll see faint steps carved into the rock; this is the trail that leads to the fire road that will, in turn, lead to the peak.

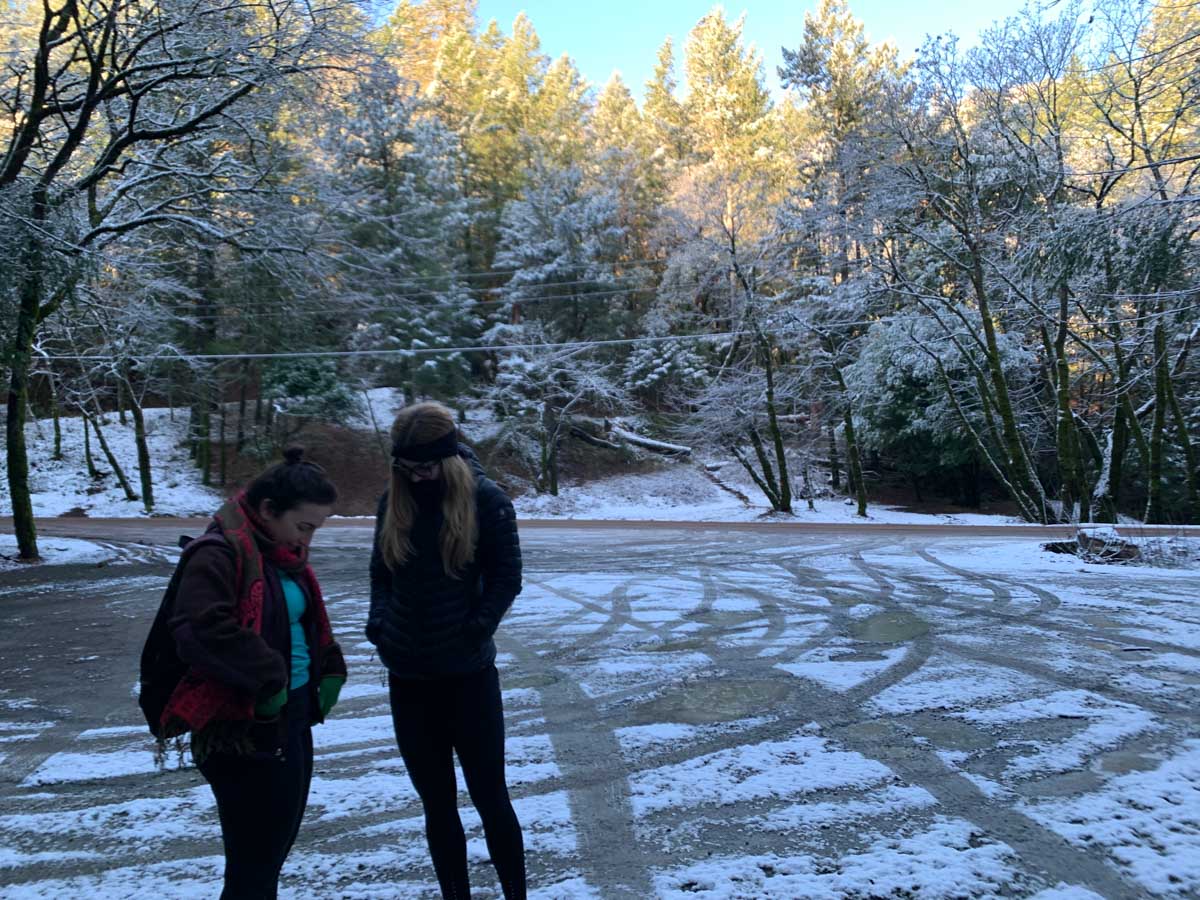
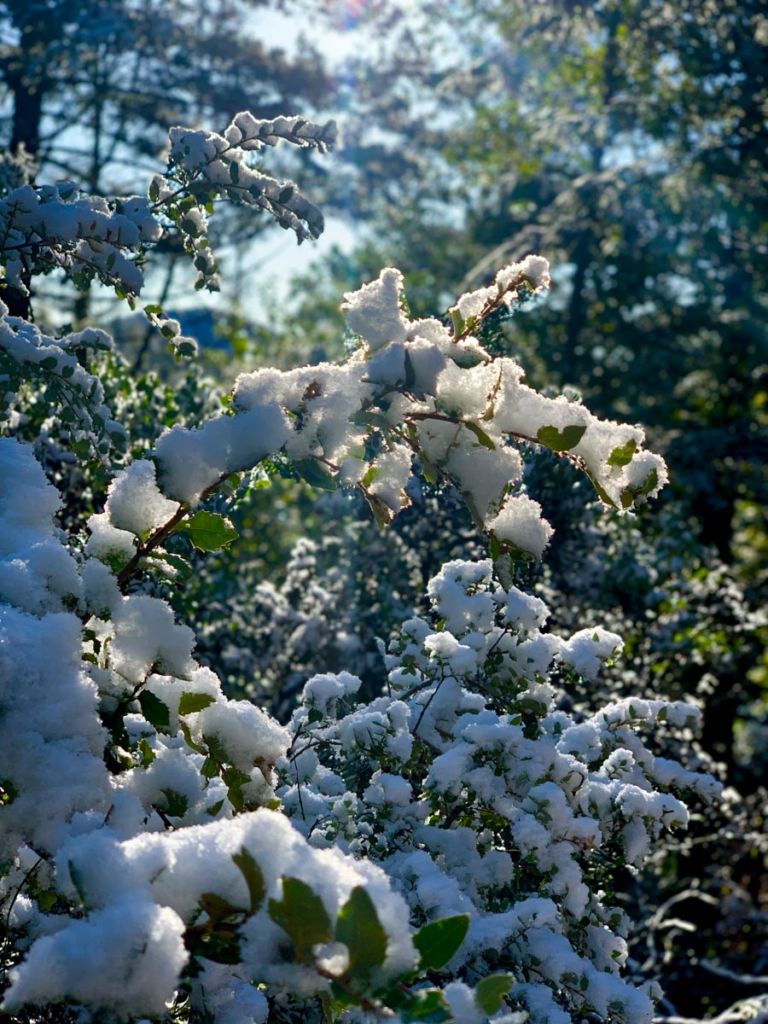
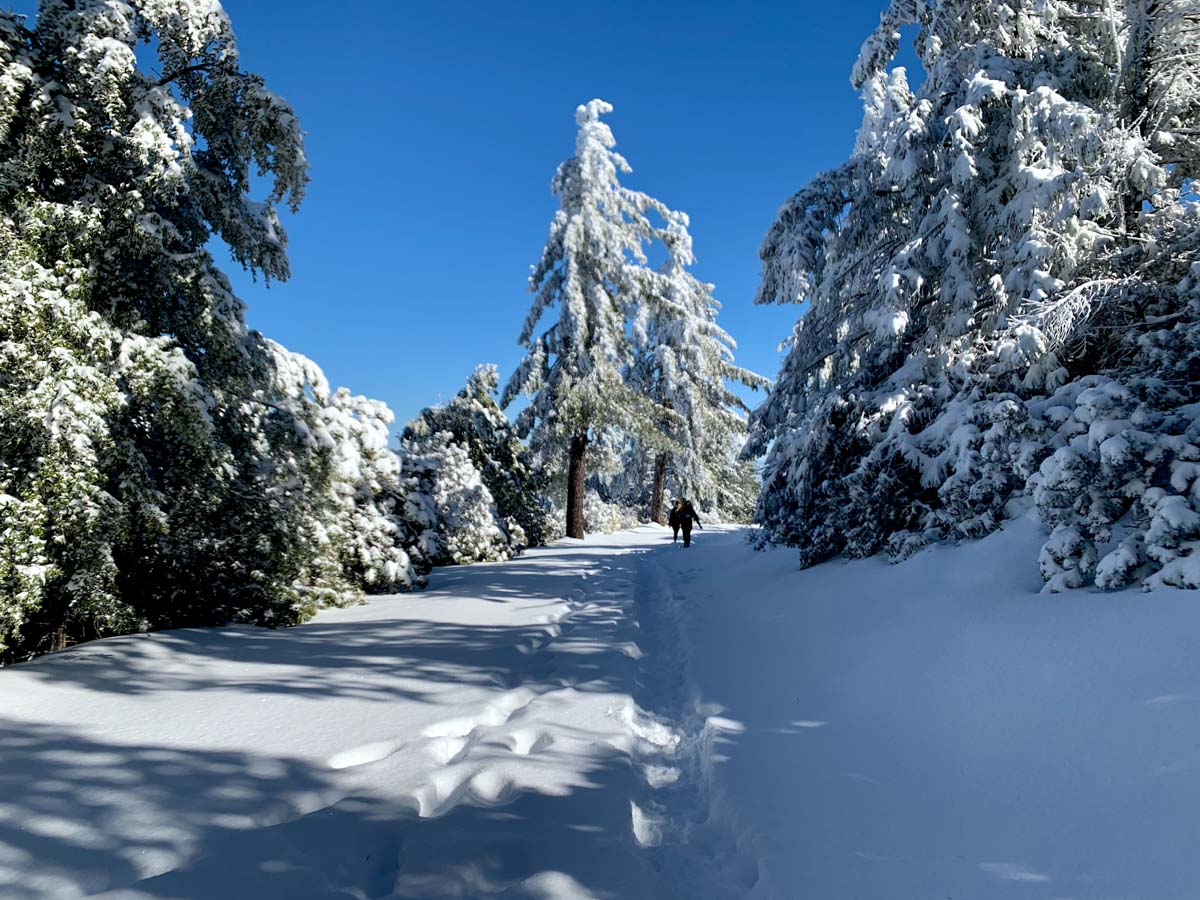
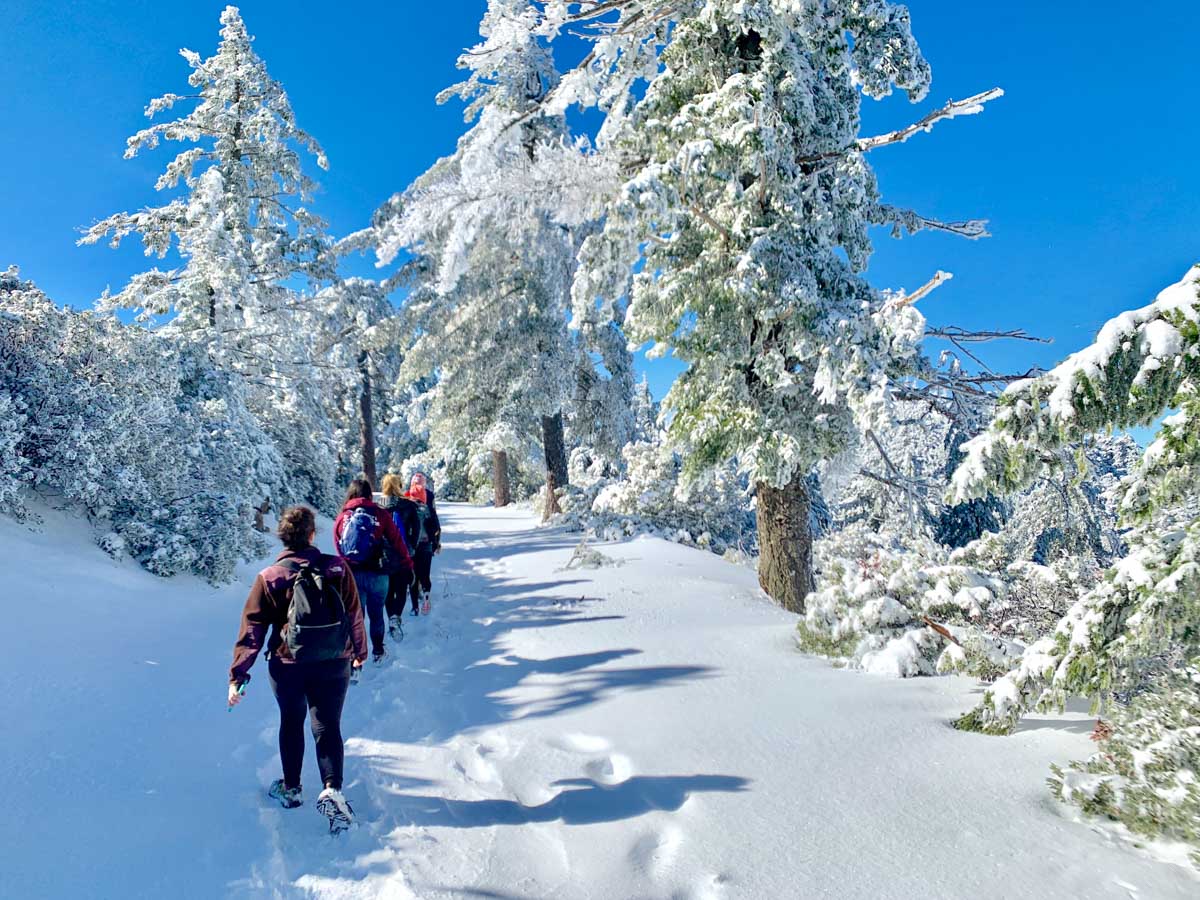
When I hiked this trail in February, the snow-covered trees made this trail a winter wonderland.
The terrain is pretty rugged here but once you get through the narrow and rocky section, you will reach the road and follow it all the way up to the peak.

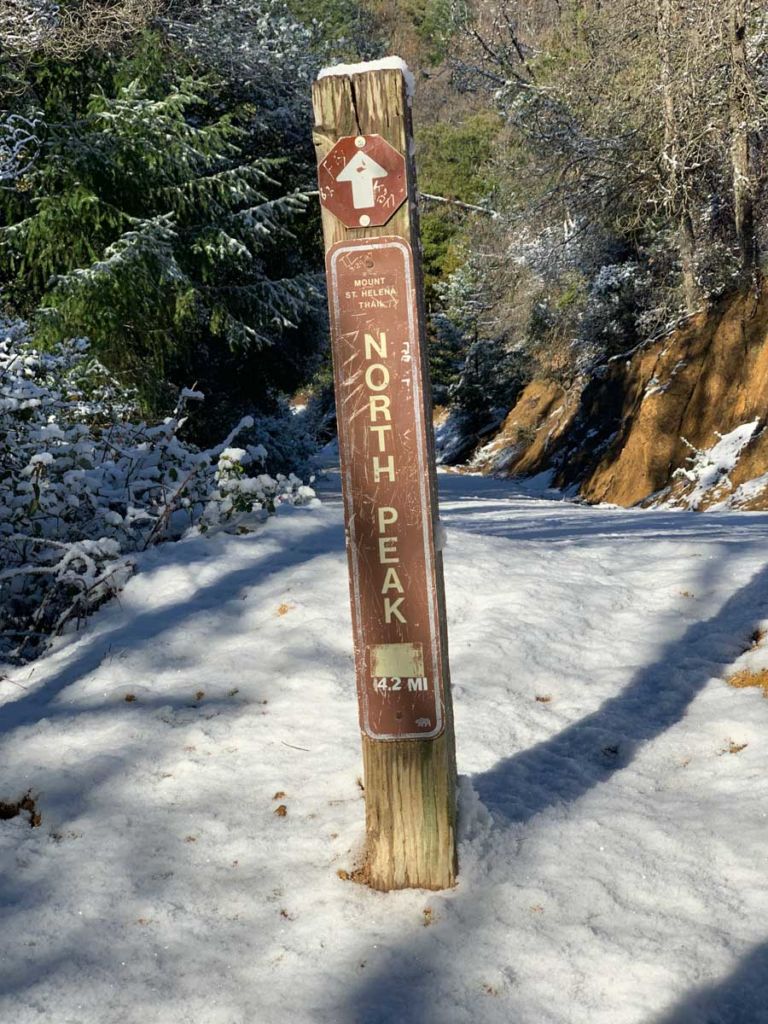
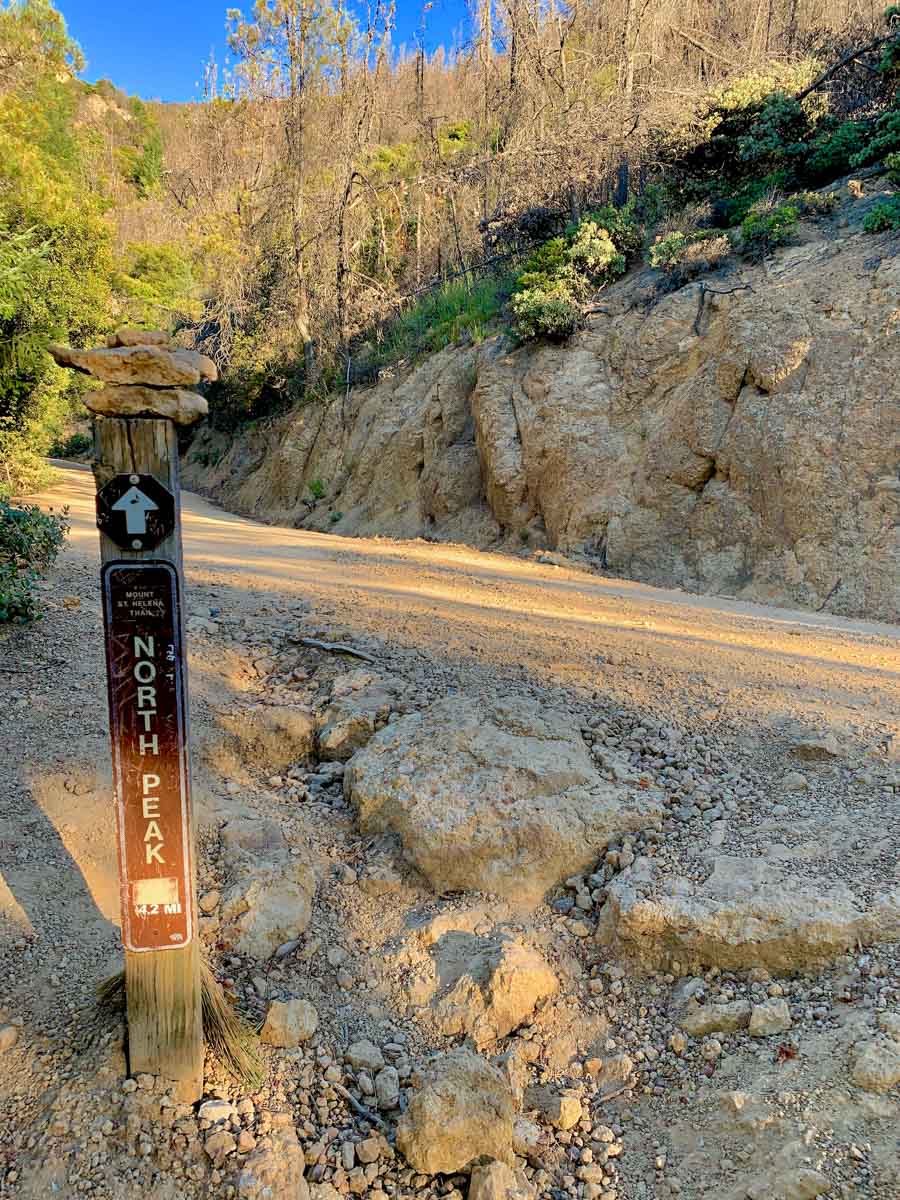
You will see a trail sign at the trail and road junction which directs you up, so stay to the left here.
Hike a couple hundred feet for some amazing views of Calistoga and Napa Valley.

Be prepared for sunshine the rest of the way.If you start you hike early, this section will be forgiving with shaded areas and a nice breeze to cool you down on your climb up.

Be sure to stop and take in the scenery as you make your around the south west side of the mountain looking out to Calistoga and Sonoma.
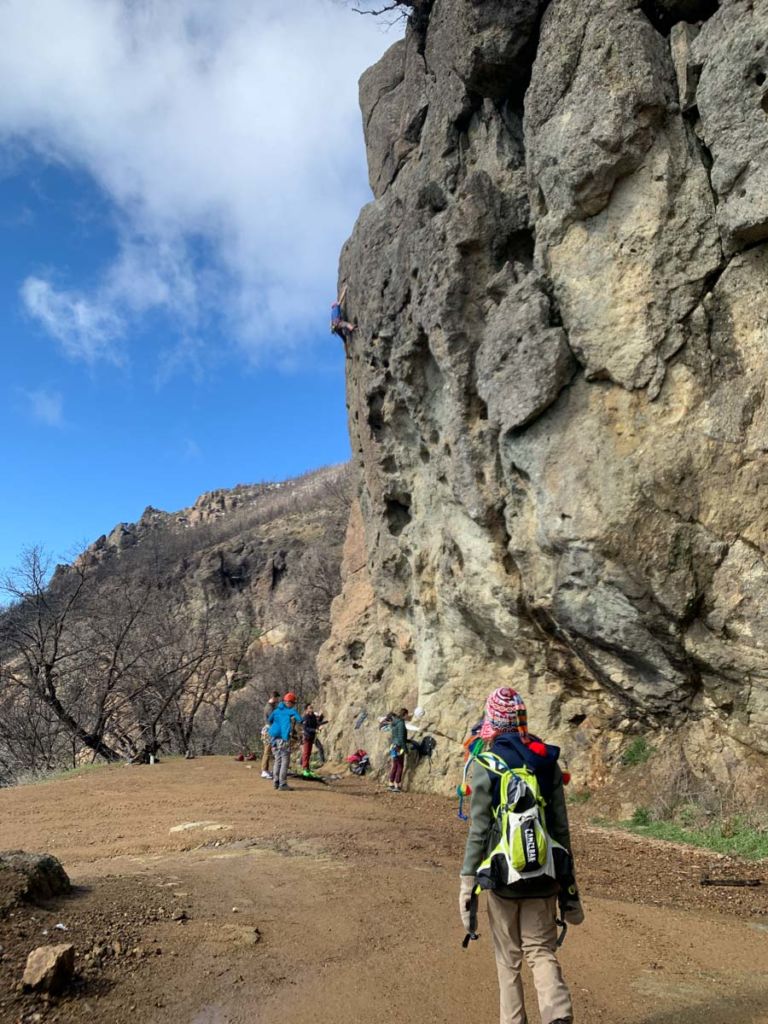
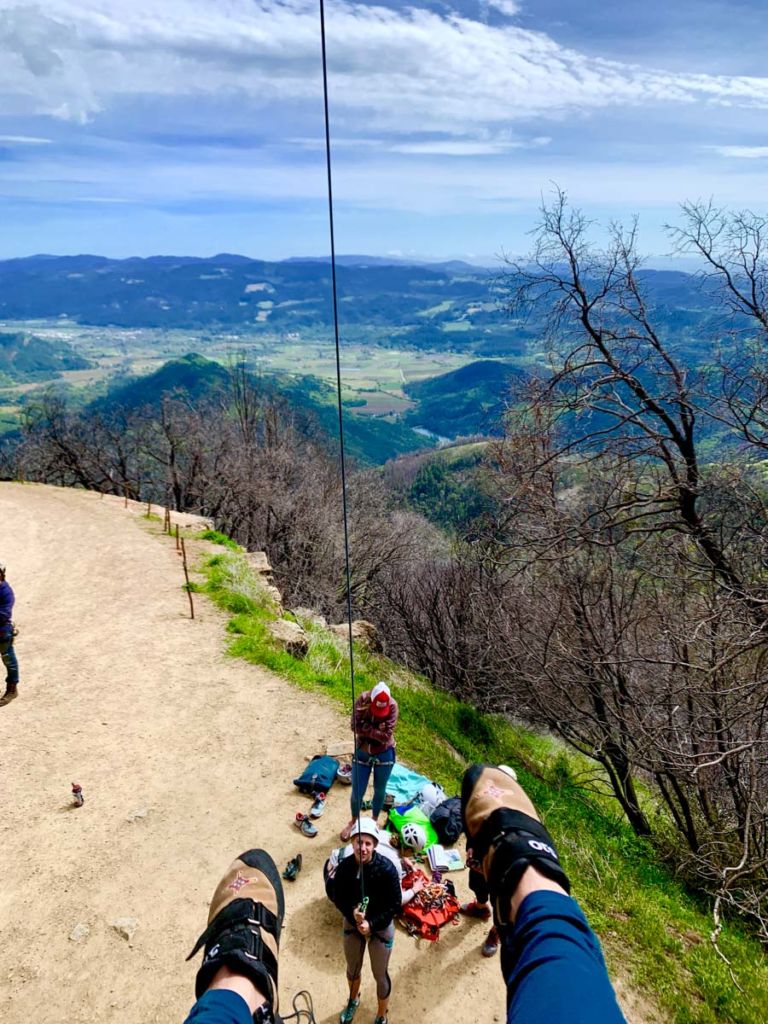
At about the 2 mile mark, you may see some rock climbers as you pass The Bubble, known for having the most scenic rock climbing views in the Bay Area. If you get a chance to climb, don’t forget to look behind you and take in the scenery. It is pretty darn epic.
This was my favorite stretch when it was covered in snow in February. Be sure to arrive early to enjoy it before the sun makes it slushy.
Follow the road all the way up and as you approach mile 4, you can see the peaks with the towers and there will be a junction on the trail.
Stay to the right here and you will be headed toward your summit. If you go to the left you will reach the lower south peak, continue straight to get to the highest (northern-most) peak with the red and white tower.

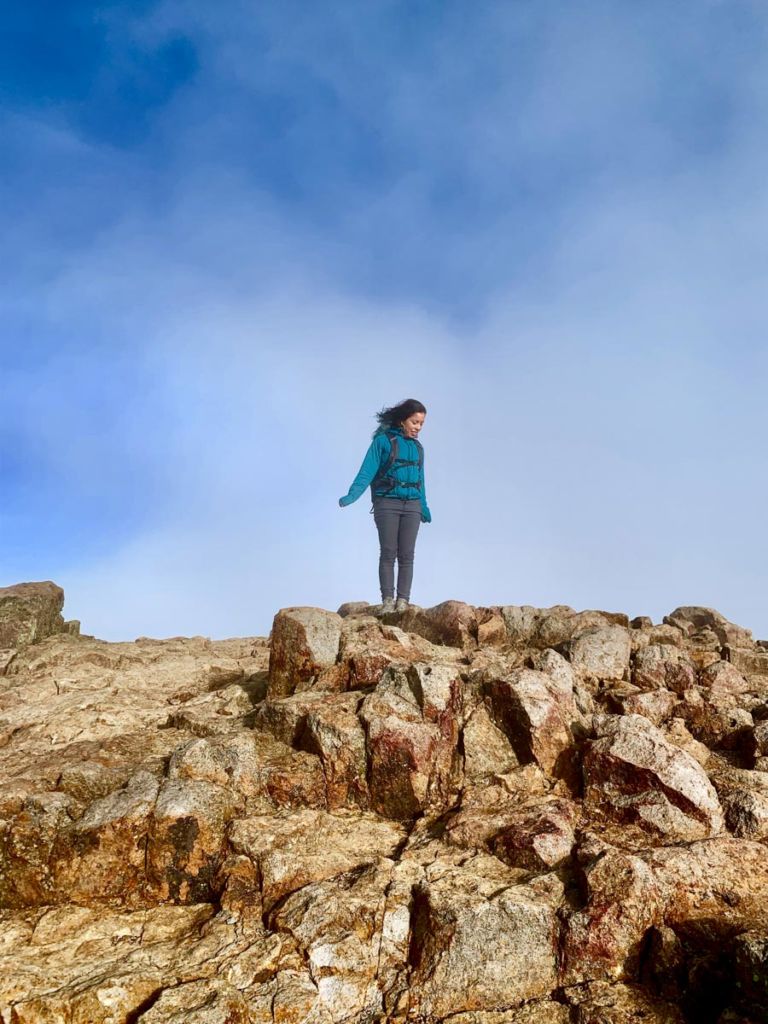
There are a few side trails that I haven’t explored yet and can be confusing to navigate. Rest assured if you stay on the road you will reach your summit at 5.1 miles and be rewarded with 360 views of Sonoma, Napa and Lake Counties.
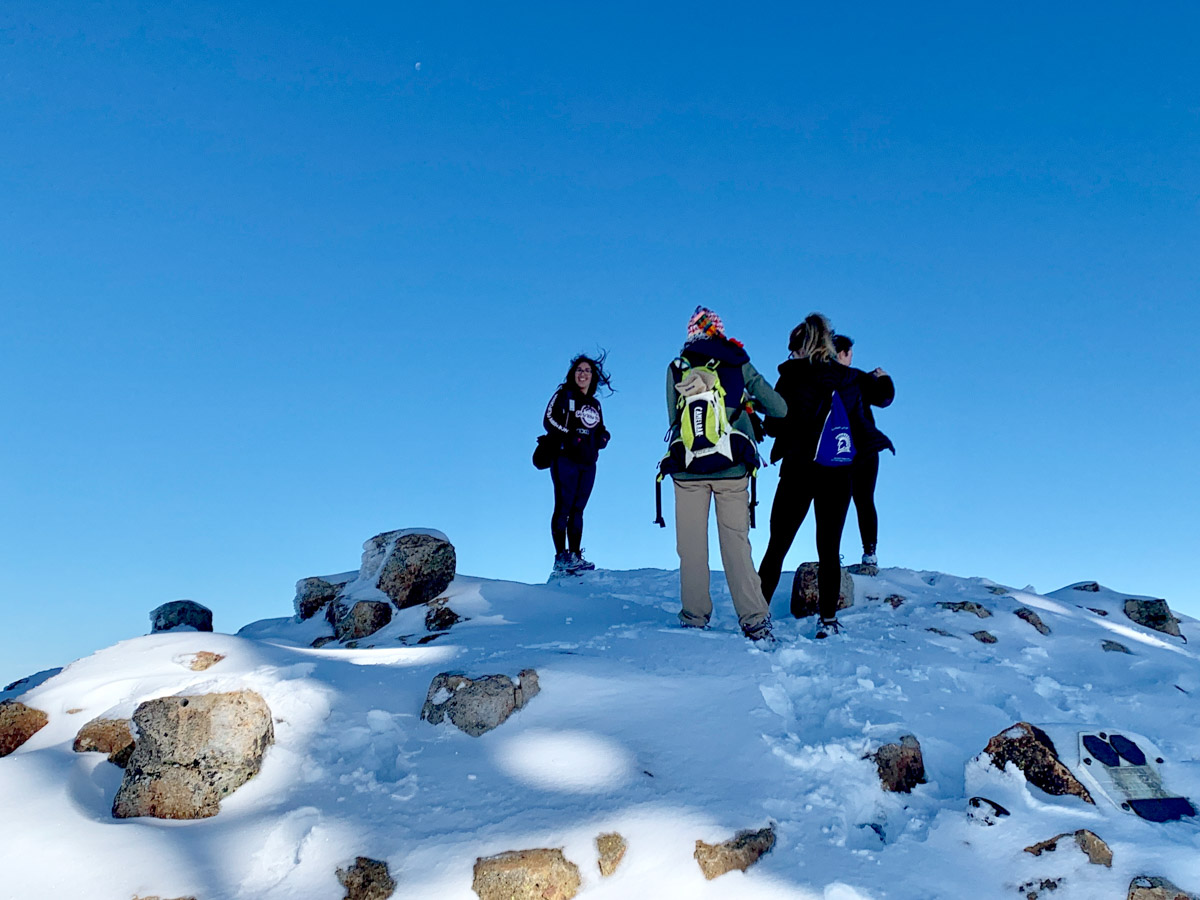
In the early winter I experienced gusty winds at the peak but in February it was the snow covered summit that made this place special.
When I hiked last week, it was about 90 when I reached the top. I checked the weather and prepared with sun protection, 3L of water and a hearty brunch to enjoy.
There’s a mound of rocks that represents the actual peak, with a plaque commemorating the Russian expedition that reached the it in 1841, naming the mountain after Princess Helena de Gagarin, wife of the commander in charge of Fort Ross on the Sonoma Coast–another place to visit.
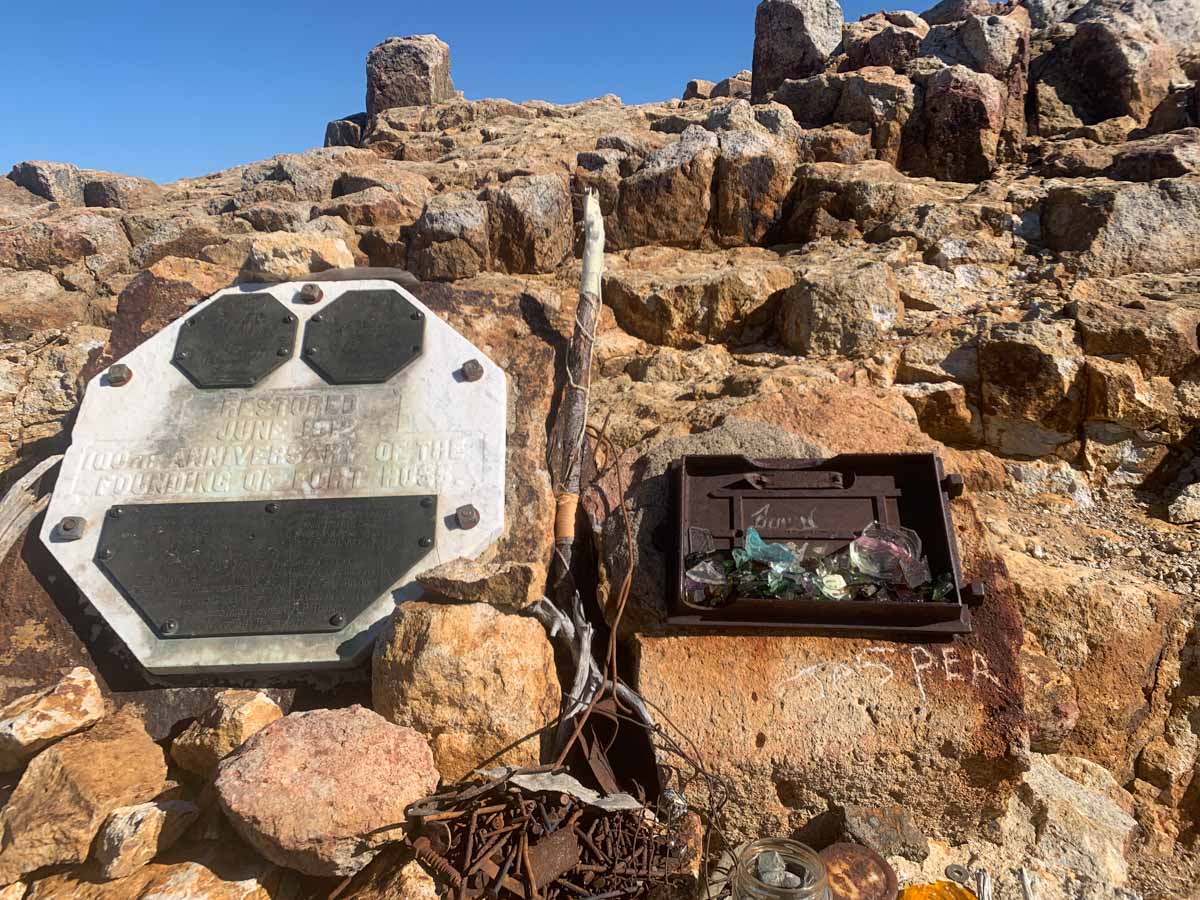
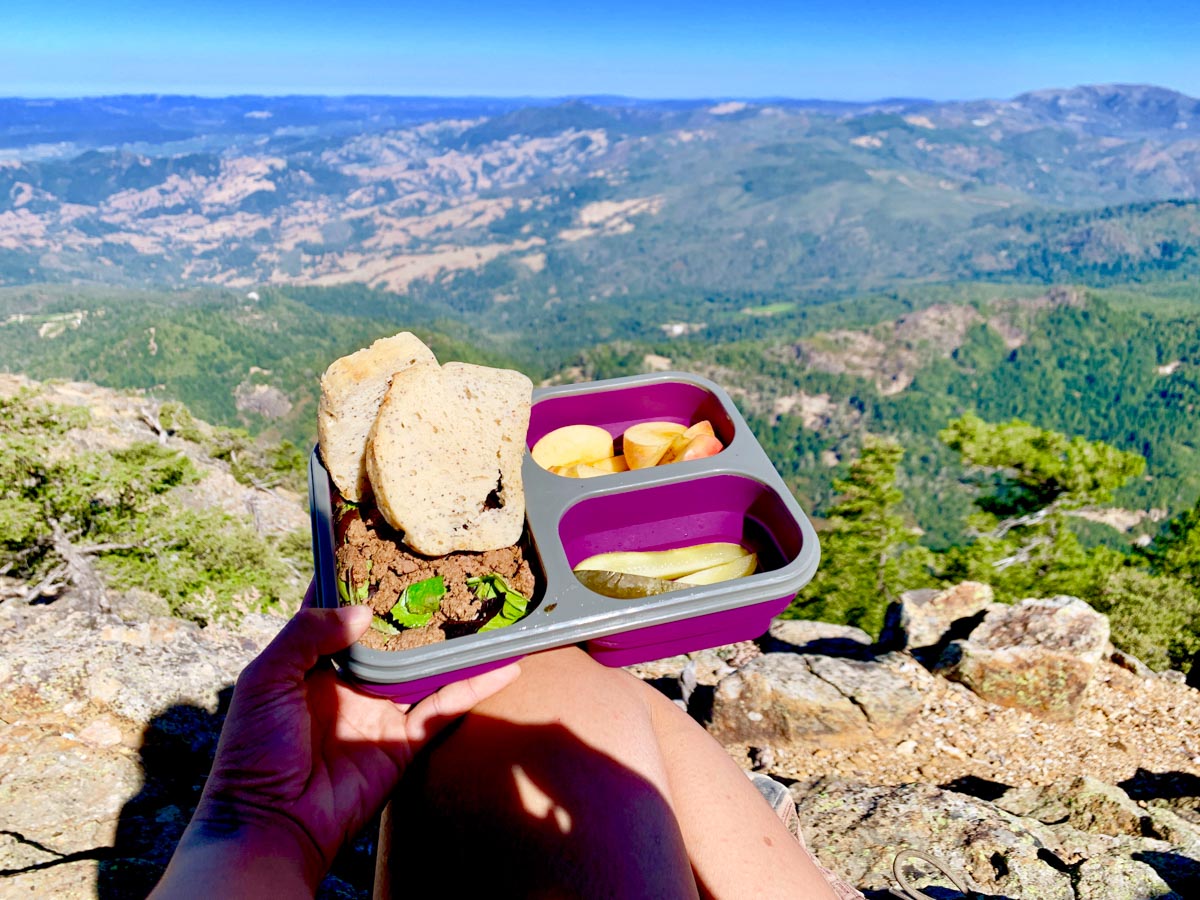
From the summit on a clear day you can see Mount Tamalpais, Mount Diablo, and the Sierras! The volcanic rock on top makes a great spot to sit and enjoy lunch while taking in the scenery.
In the Spring, gusty winds can be brutal and once I stood next to a small structure to take shelter from the shade while I enjoyed my lunch. On a hot day, finding a spot to sit on the rocks can give you a little relief from the sun while facing out to the beautiful mountains beyond.
As you make your decent, just retrace the same path you took up, but be sure to take in the views on your way down.
Soon after you pass The Bubble, keep an eye out for the trail sign on the right. It can be easily missed depending on the time of you visit. Make your way down the rocky section back to the Monument back to the picnic area.

Back at the Trailhead
Once you reach the parking lot, you may notice how full it can get. While some have hiked the same trail you did, others hiked about two miles the other way to visit or climb Table Rock with wonderful views of Mount Saint Helena.
All trails in this park are open to the elements and should be taken into consideration all times of the year. One thing I have realized over the past year is that there is no bad weather, just the wrong gear and being fully prepared with the 10 Essentials with enough water and snacks to keep this hike enjoyable.
The total roundtrip distance of the trail is a little over ten miles. (I have it marked at 10.7 both times I have recorded this hike on AllTrails and 10.31 on Gaia GPS) The grade isn’t extreme, so given the time (and water) most people in moderate shape will be fine. There is, however, added incentive to finish the hike: just down the hill in the town of Calistoga there are many great wineries and breweries.
There is nothing like sipping a glass of wine while looking back at the mountain you just climbed. Maybe next time I’ll drive down and try a mud bath.
Mount Saint Helena Trail Map & Elevation Profile
Mount Saint Helena Peak Resources
- Robert Louis Stevenson State Park – official website
- Be sure to carry the Ten Essentials

Bay Area Six-Pack of Peaks Challenge
This hike is part of the Bay Area Six-Pack of Peaks Challenge. This self-paced hiking challenge includes six hikes in the San Francisco Bay Area. They are a great way to explore the area, train for bigger adventures, and you’ll be doing good, with a portion of the net proceeds going to support Big City Mountaineers.
You must be logged in to post a comment.